Reading Time: 4 min read
What is “wardriving”?
Section titled “What is “wardriving”?”Wardriving involves attackers searching for wireless networks with vulnerabilities while moving around an area in a moving vehicle. They use hardware and software to discover unsecured Wi-Fi networks then gain unauthorized access to the network by cracking passwords or decrypting the router. This is especially useful during initial Reconnaissance.

Prerequisites
Section titled “Prerequisites”Hardware
Section titled “Hardware”This can be performed with all sorts of hardware, but in the case of this blog I will be using the following tools:
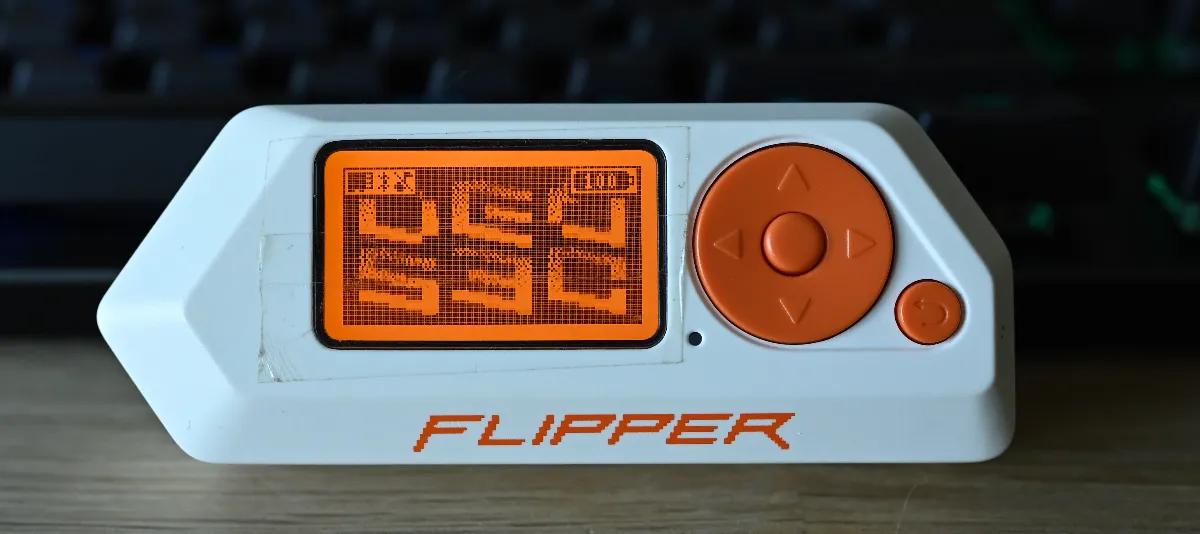
- Flipper Zero (€229,00)
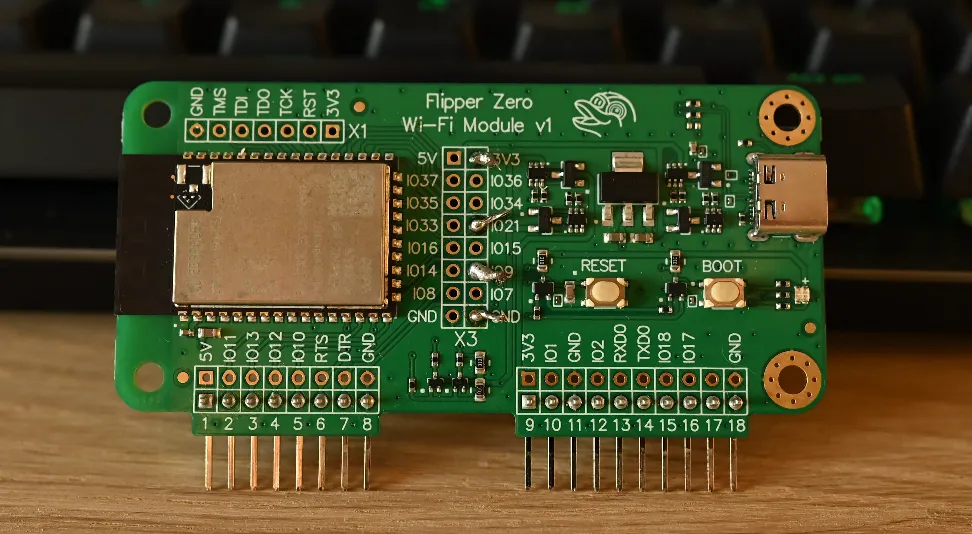
- ESP32-S2-WROVER (WiFi dev board) (€42,00)
- GY-NEO-6M V2 (GPS module) (there’s a bunch of retailers but these are all nearly identical)
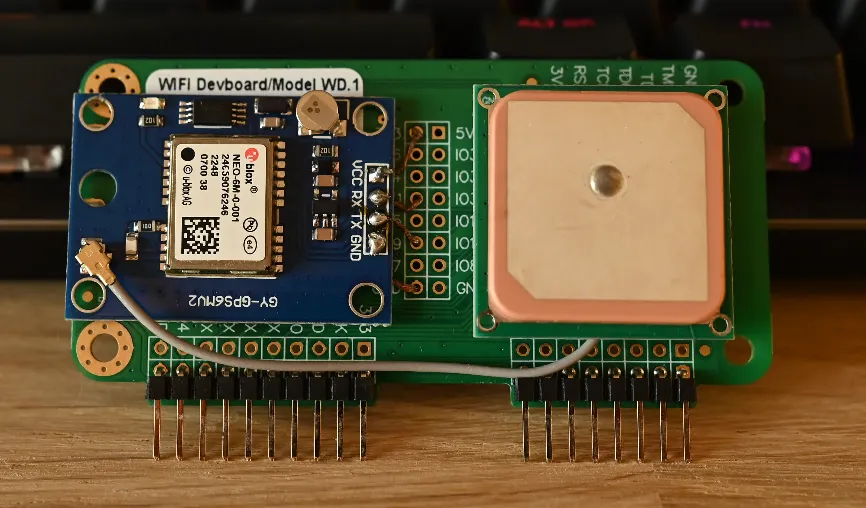
The exact schematics for soldering the GPS onto the WiFi devboard will be displayed further down.
Software
Section titled “Software”Any Flipper firmware will do, as long as it contains the [ESP32] WiFi Marauder application. I will be using Momentum Firmware along with my self made DrivePy script which I’ll be using to map the .csv output with.

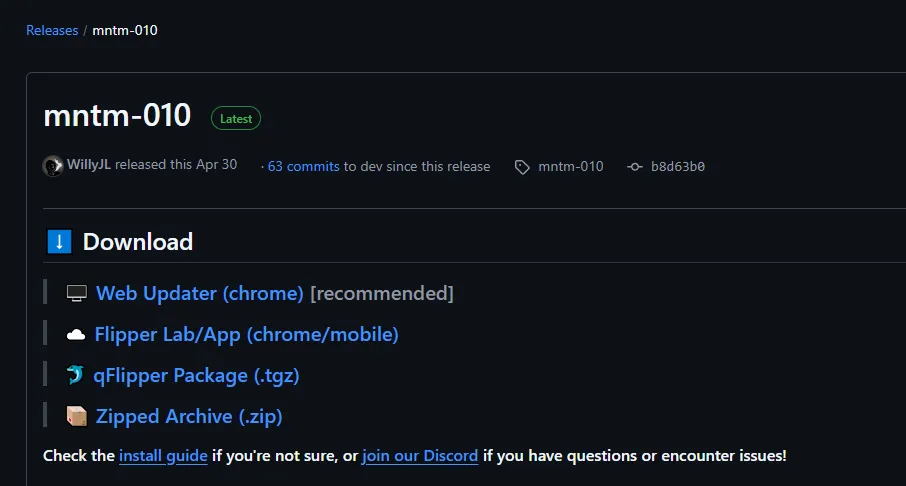
Simply head on over to Releases and click on Web Updater, plug the Flipper in and you can flash the firmware through the browser.
You will also have to flash the WiFi dev board using a 3rd party Marauder firmware, the guide can be found here.
DO NOT SKIP THE ABOVE STEP, IT WON’T WORK WITHOUT IT!
Setting up the wardriving rig
Section titled “Setting up the wardriving rig”Soldering
Section titled “Soldering”Taking in account that you have completed the Prerequisites we can get on with soldering the NEO-6M GPS module to the back (or wherever to your preference) of the WiFi dev board.
I myself have never soldered beforehand and was quite nervous, you don’t have to be, it is really easy. If it looks like you’re going to screw something up it is most likely easily reversible.

Above you will see the contact points that the copper wiring was stuck to, this is non-optional, these are the exact points they need to be soldered to.
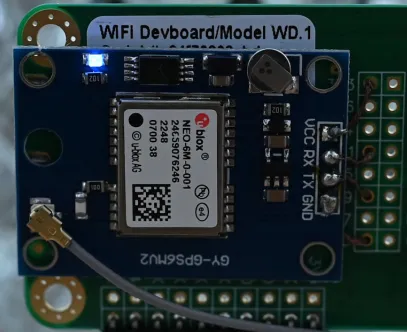
Below you will see it from the front.
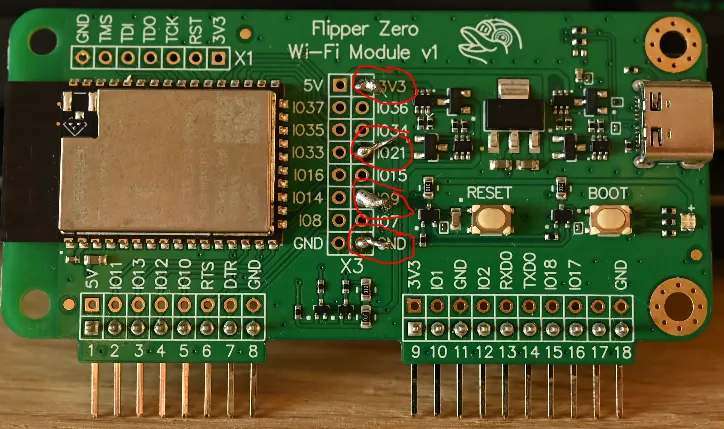
The points of contact will have to be connected as per the table below:
| WiFi dev board | NEO-6M GPS module |
|---|---|
| 3V3 | VCC |
| IO21 | RX |
| IO9 | TX |
| GND | GND |
Once it was soldered down I stuck the GPS and the antenna in place using double sided adhesive tape.
(Optional) If you have a 3D printer or access to one, you can go ahead and print out a case for the board in order to protect it. Keep in mind that the dev board now has a GPS stuck to the back. You can find some on this site.
Testing the GPS
Section titled “Testing the GPS”Before we start off wardriving we’ll want to run ESP32 Marauder -> GPS Data -> Stream to check whether it is getting a GPS feed (we’ll want at least 4 sattelite fixes for accurate readings).
You’ll notice when the GPS is getting hits when the blue light on the module starts flickering:
If it is not flickering, you might have to step further outside or away from tall buildings and trees.
We will now continue on to the mentioned GPS Data:
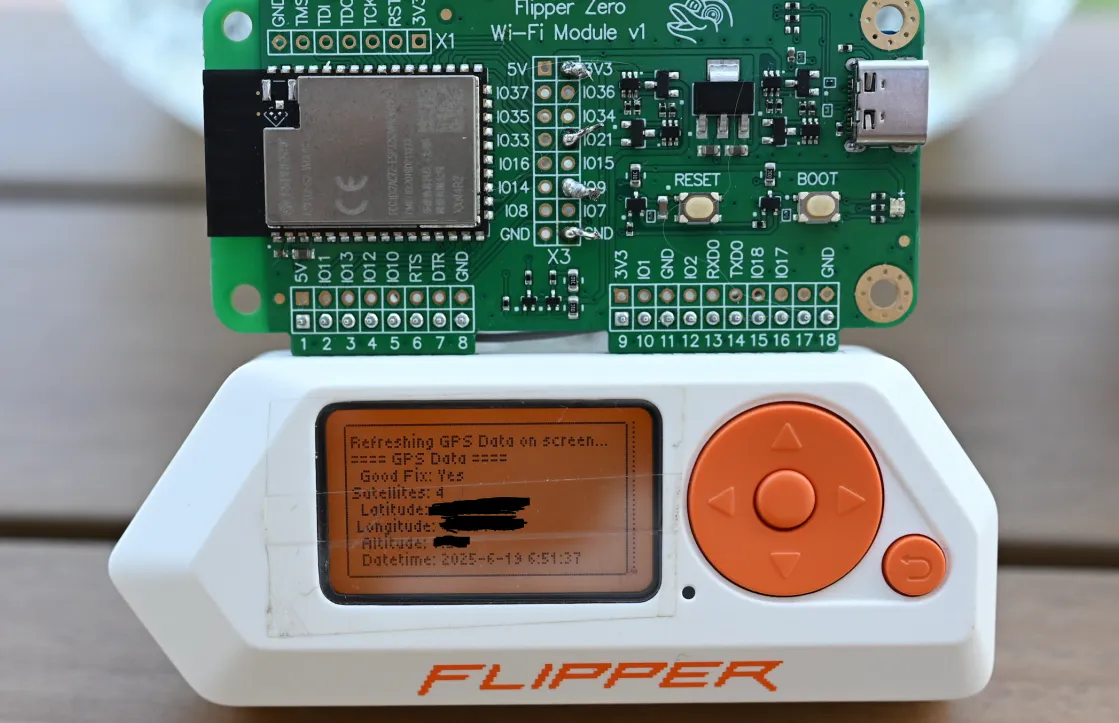
We notice that we have a good enough sattelite fix, let’s get onto the fun part.
Wardriving
Section titled “Wardriving”Collecting wardriving data
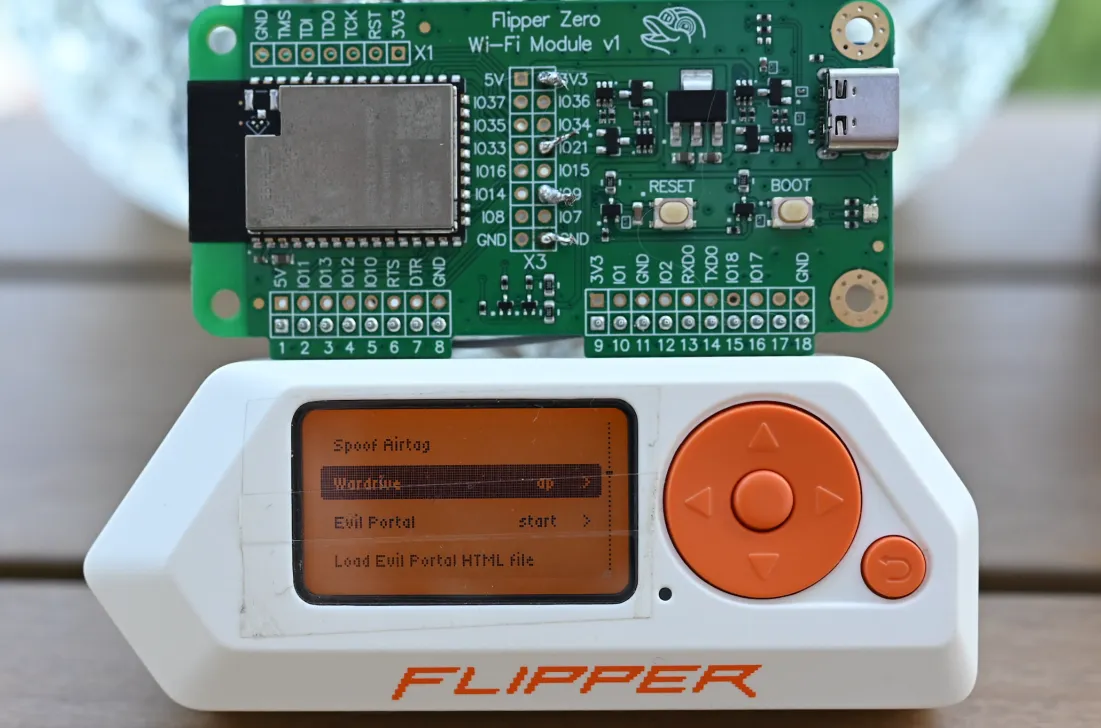
Section titled “Collecting wardriving data”Inside the same menu within ESP32 Marauder we will head on over to Wardrive where we can choose from multiple options, first one being ap or Access Points:
Once we click on it, it will start collecting data from all the nearest WiFi access points and will give them a GPS fix.
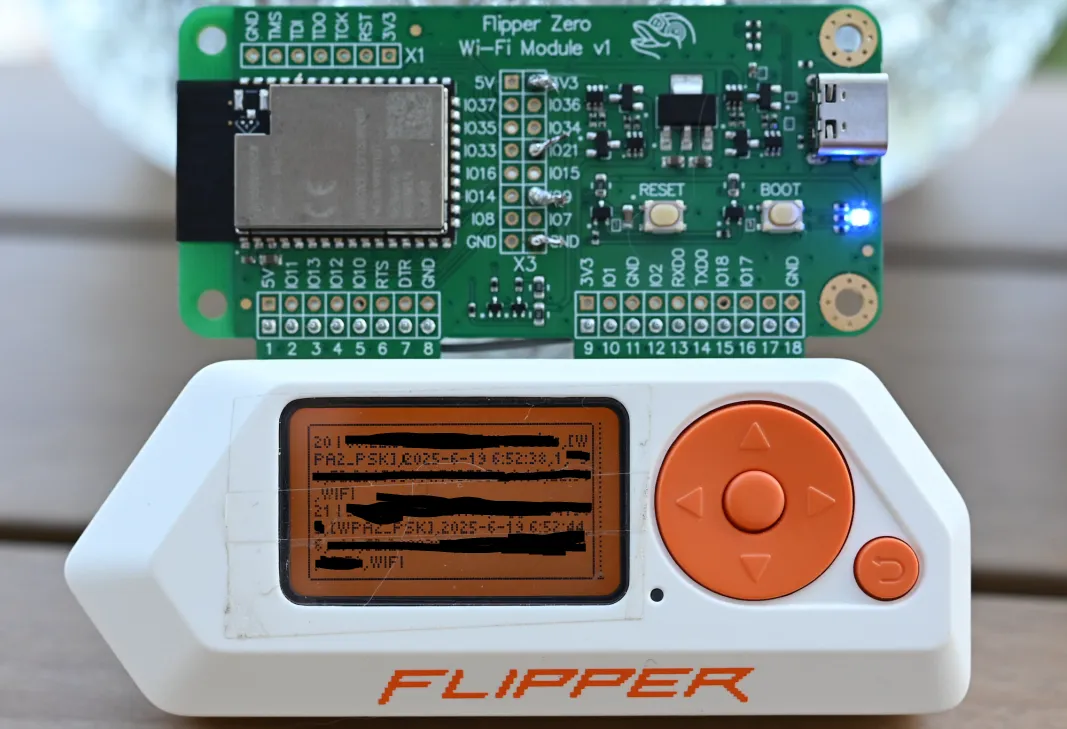
Once we have all our data collected we can exit the screen using the return button, and we can save all the data to the SD card.
Parsing and mapping wardriving data
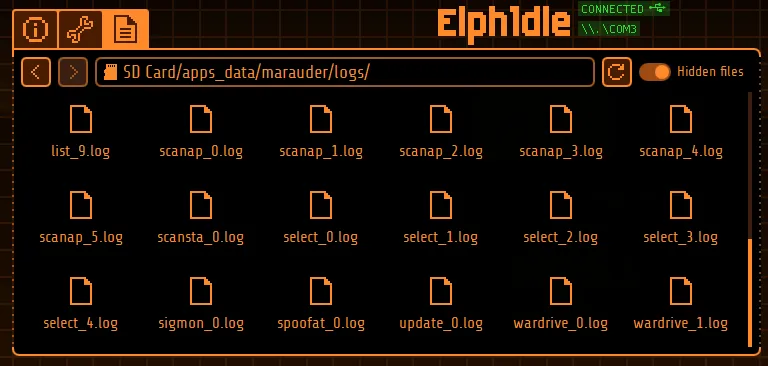
Section titled “Parsing and mapping wardriving data”A more common approach would be to use wigle.net to upload your data. Since this was a little hobby project for me however I decided to write a Python script instead that would parse this data and showcase it on a map. To do this we start up the qFlipper software:

Here we will head on over to SD Card -> apps_data -> marauder -> logs where we will find our wardrive logs:
We can now save these files and they should looks something like this:

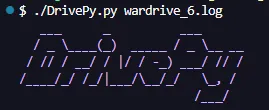
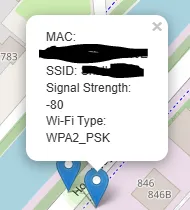
Now we will feed this file to the DrivePy script which will put these access points neatly on a map:
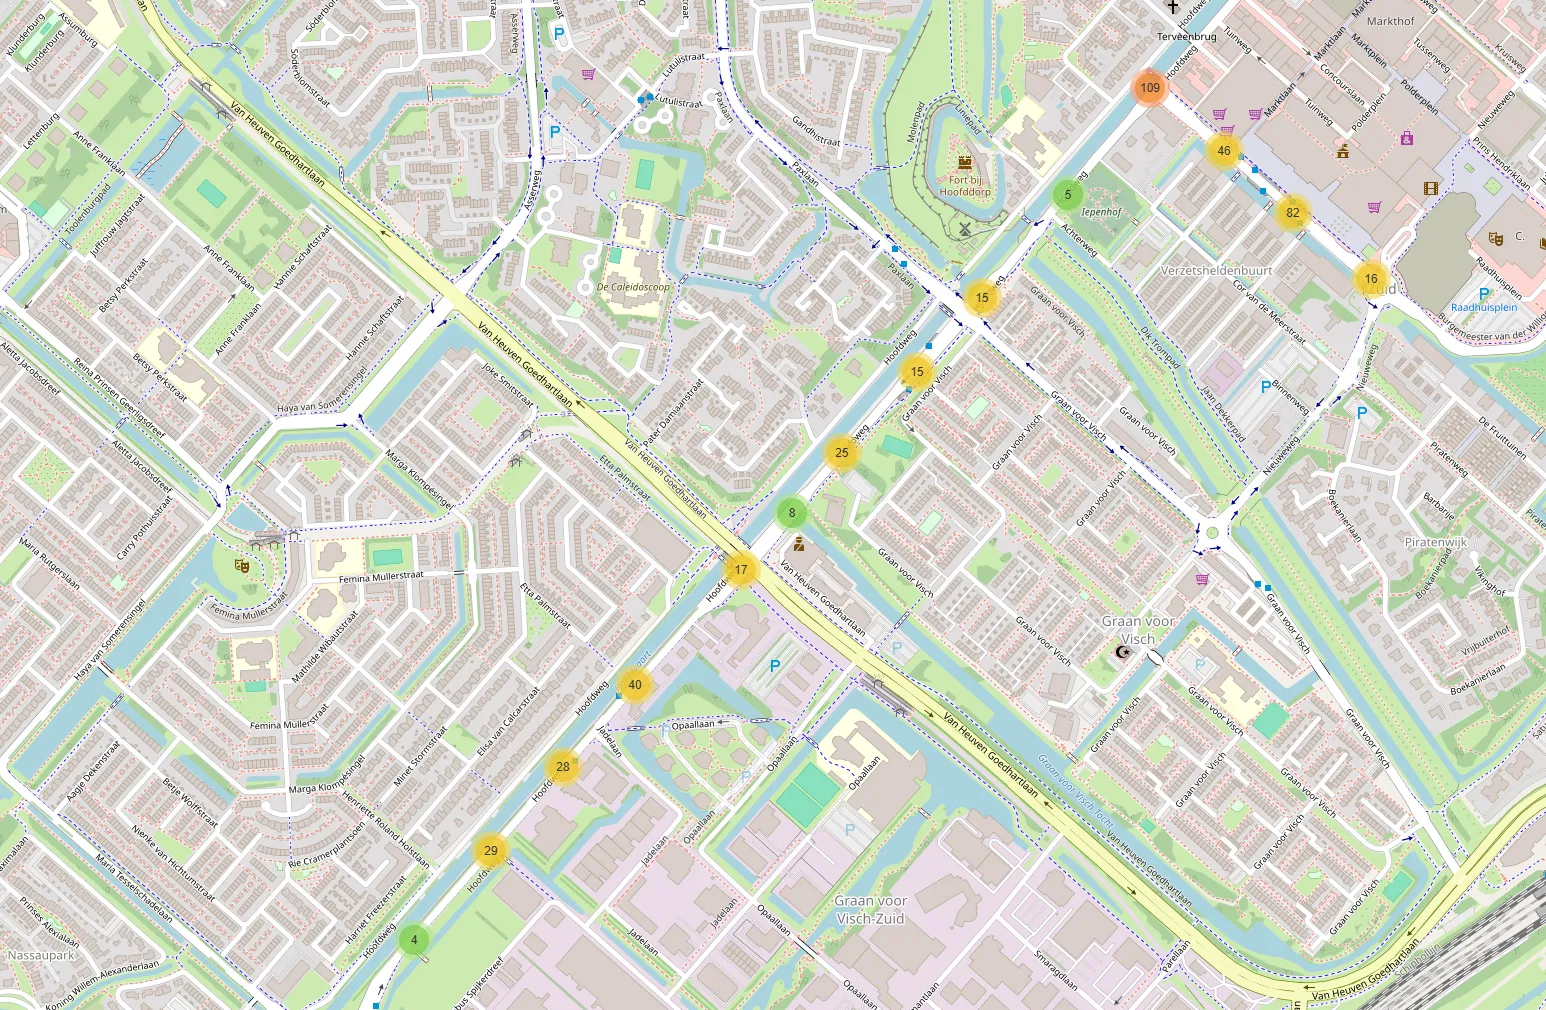
We can view the individually found ap’s on the map, along with all their data.
Furthermore we can use different sorts of parsing arguments in order to get a different output.
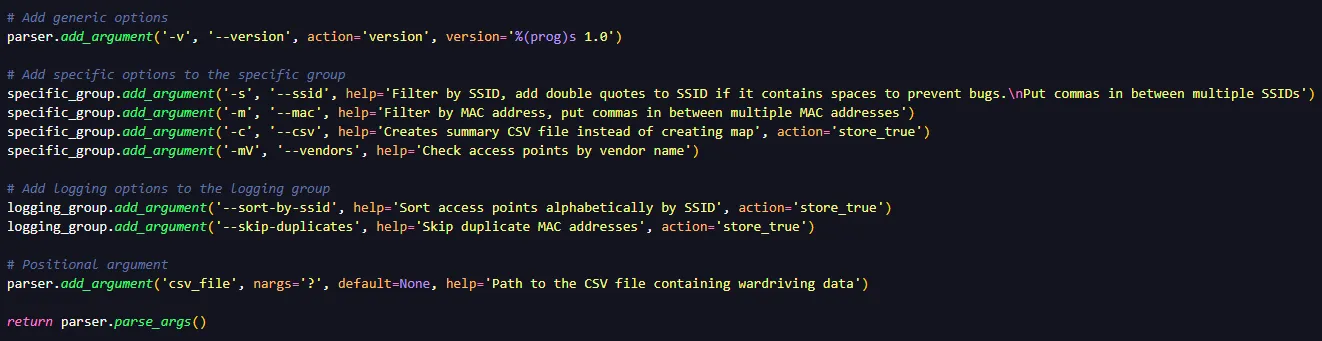
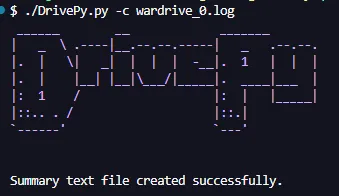
We can for example create a summary CSV instead of creating a map:

References Used
Section titled “References Used”In order to write this blog I used the following references:
Possibly some other ones as well, but I built this project almost 2 years ago so I might’ve forgotten by now.